Set Up AutoPrintEmail for Shopify
You installed AutoPrintEmail to stop hand-printing labels, packing slips, and transfer receipts. Good call. This guide takes you from a fresh install to your first label in your hands, and you never have to leave Shopify to do any of it. Set aside about ten minutes.
Table of Contents
- Install from Shopify
- Confirm Your Email
- Your Free Trial
- Print Your First Document
- Receive a Transfer and Print the Labels
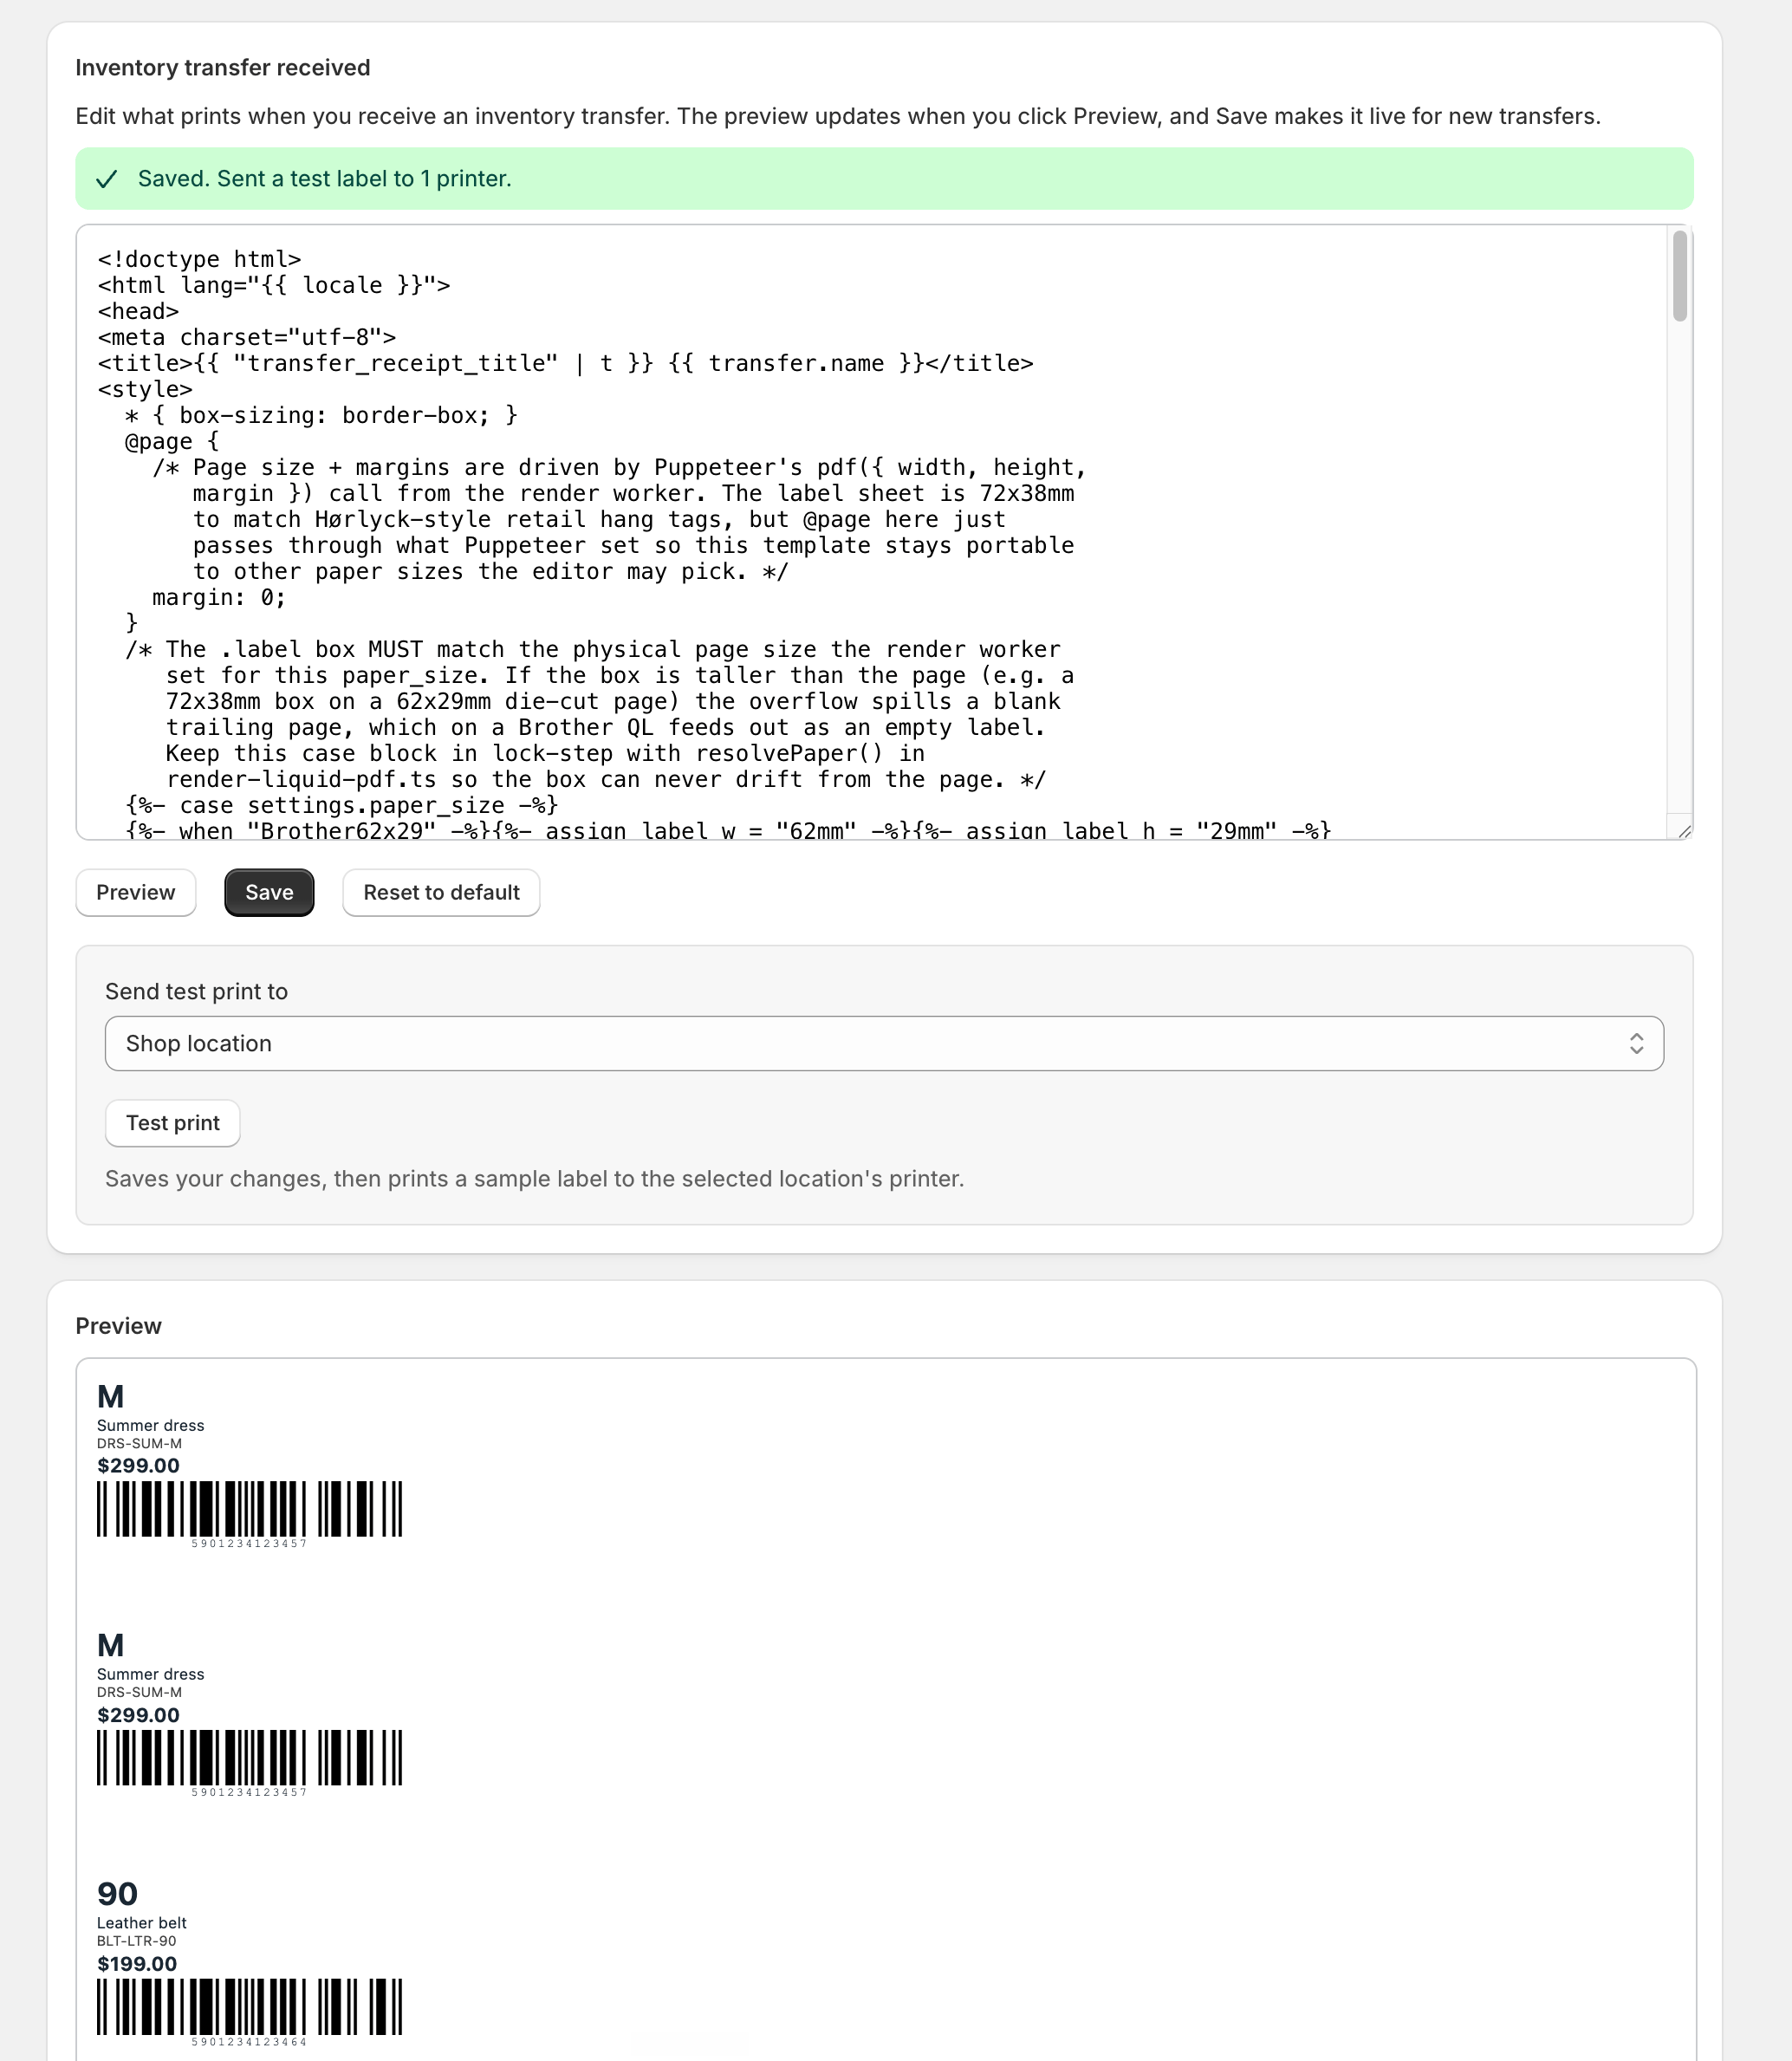
- Customize Your Documents
- Print Packing Slips for Orders
- Optional: Print Without Anyone Clicking
- Invite Your Team
- Managing Everything from Shopify
- Need Help?
Install from Shopify
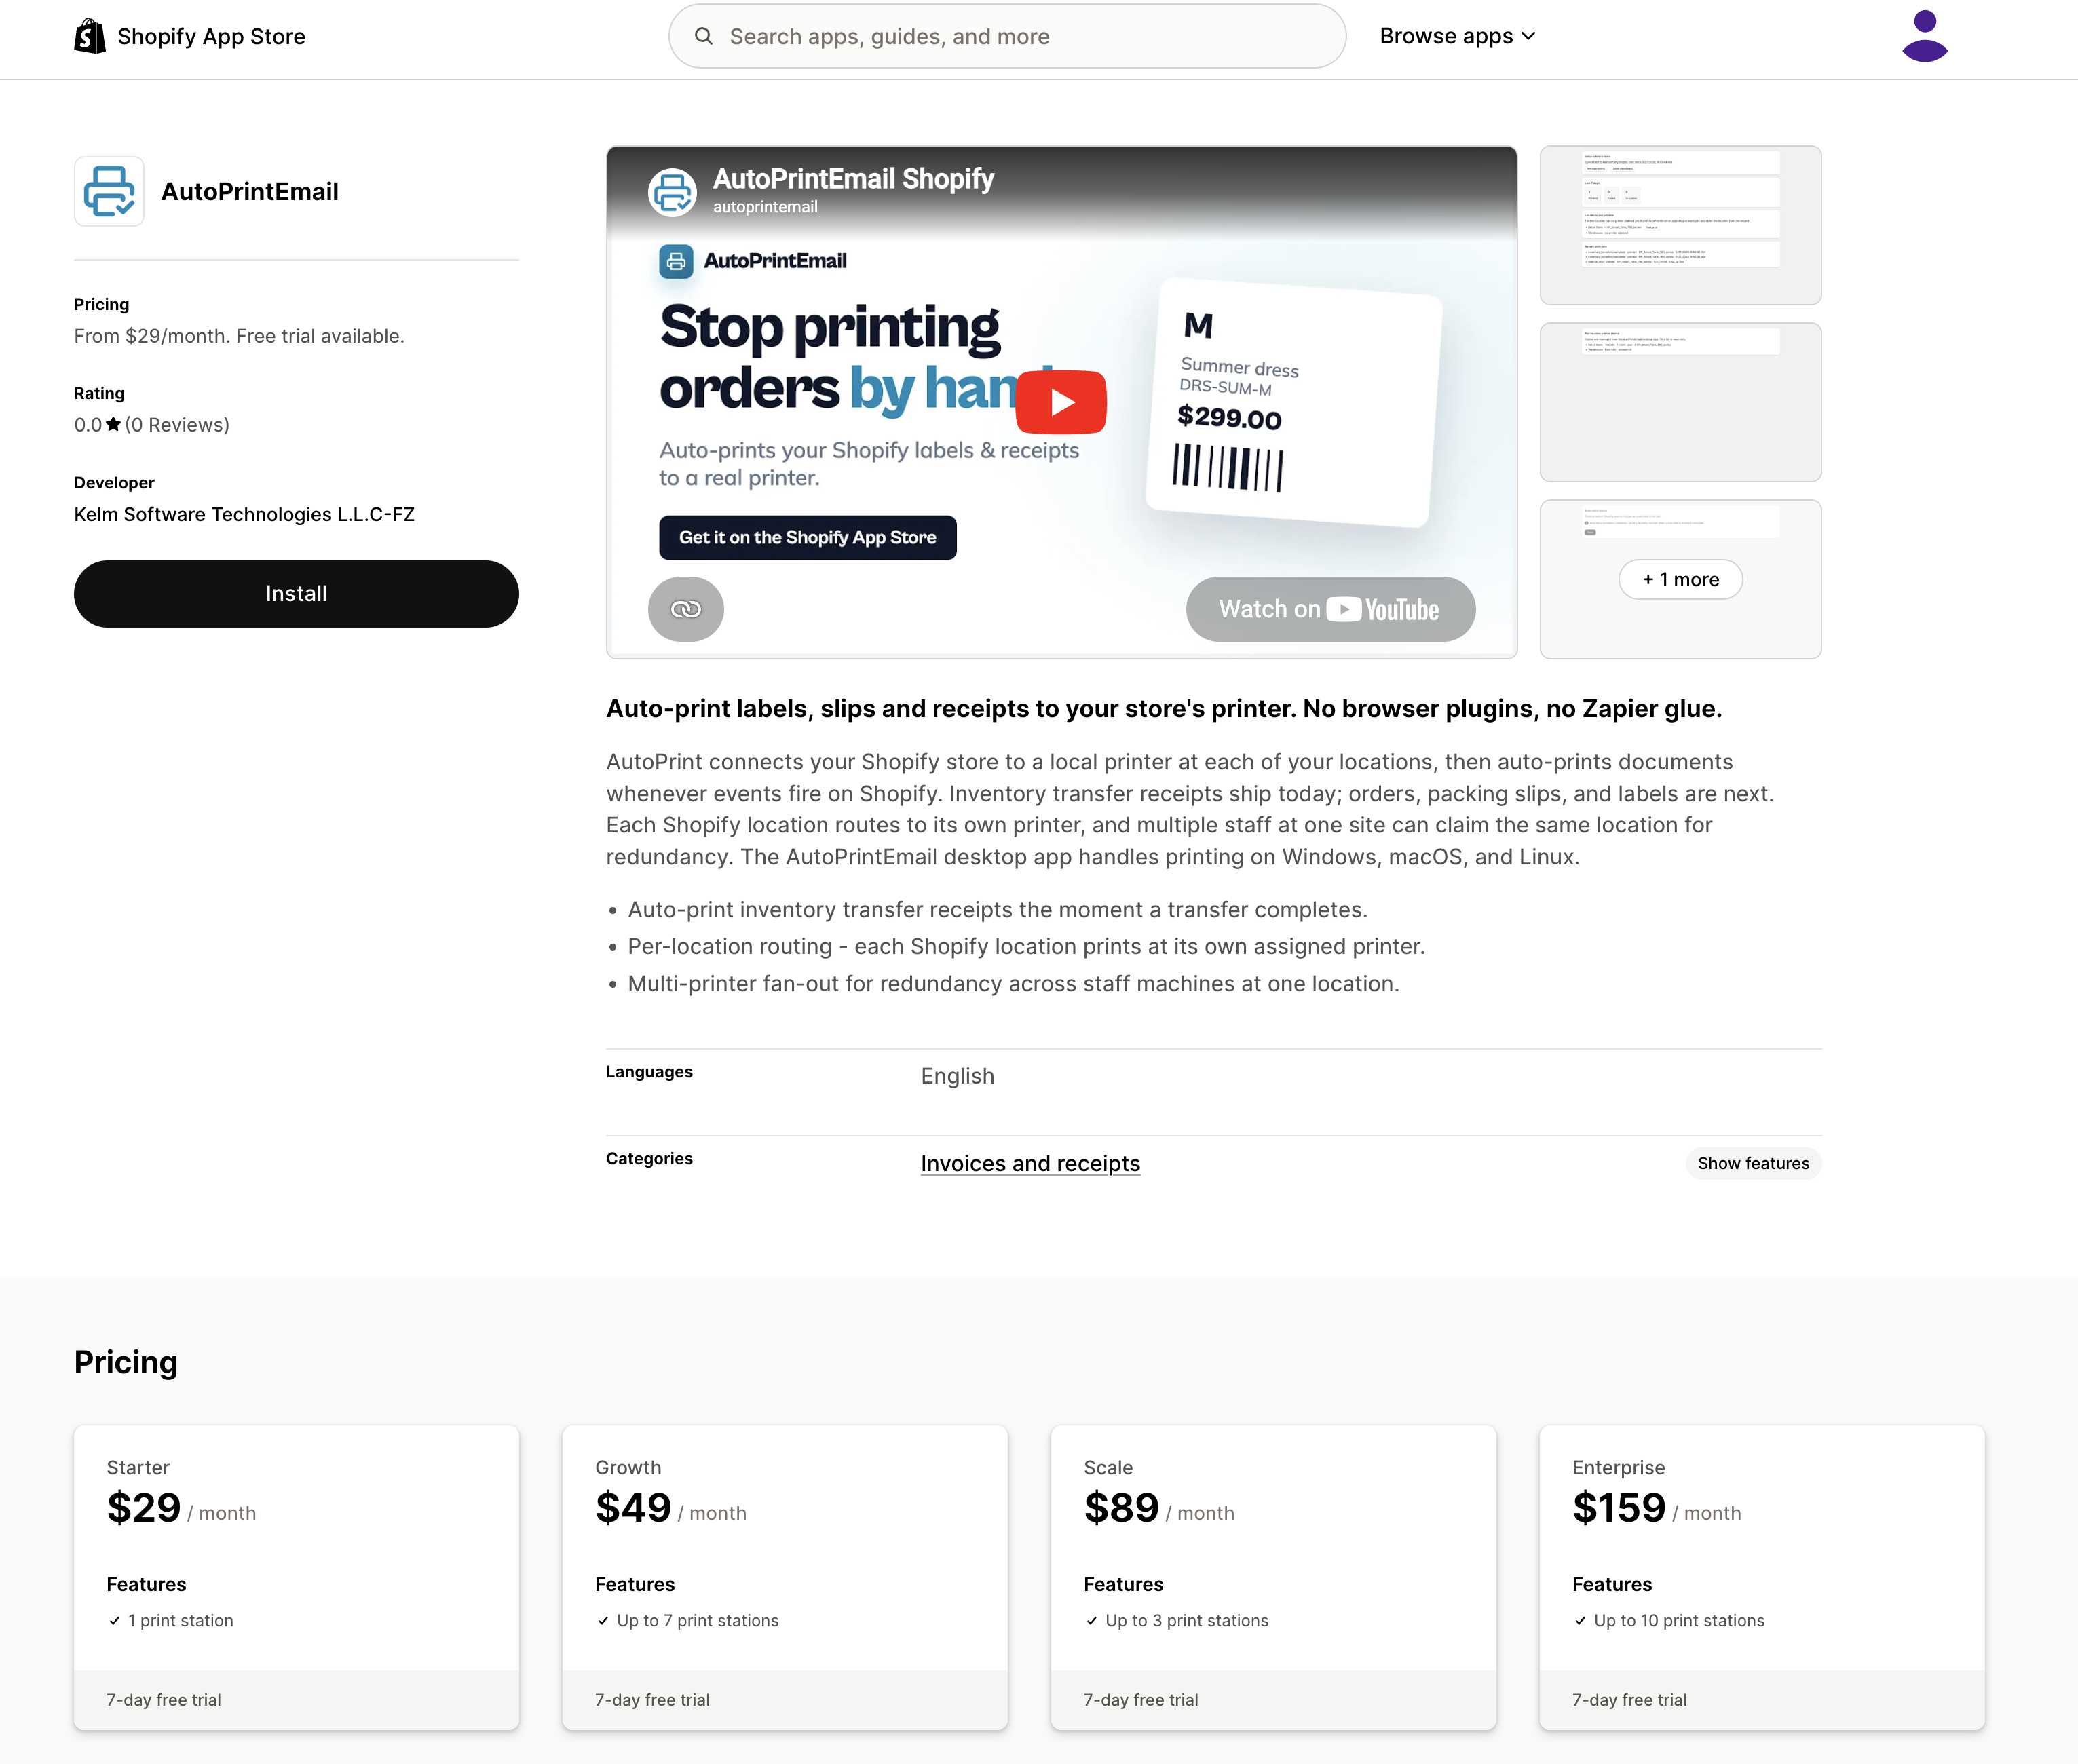
Install AutoPrintEmail from the Shopify App Store. If we set your store up directly instead, open the install link we sent you while you are signed in to your Shopify admin. Either route lands you in the same place.
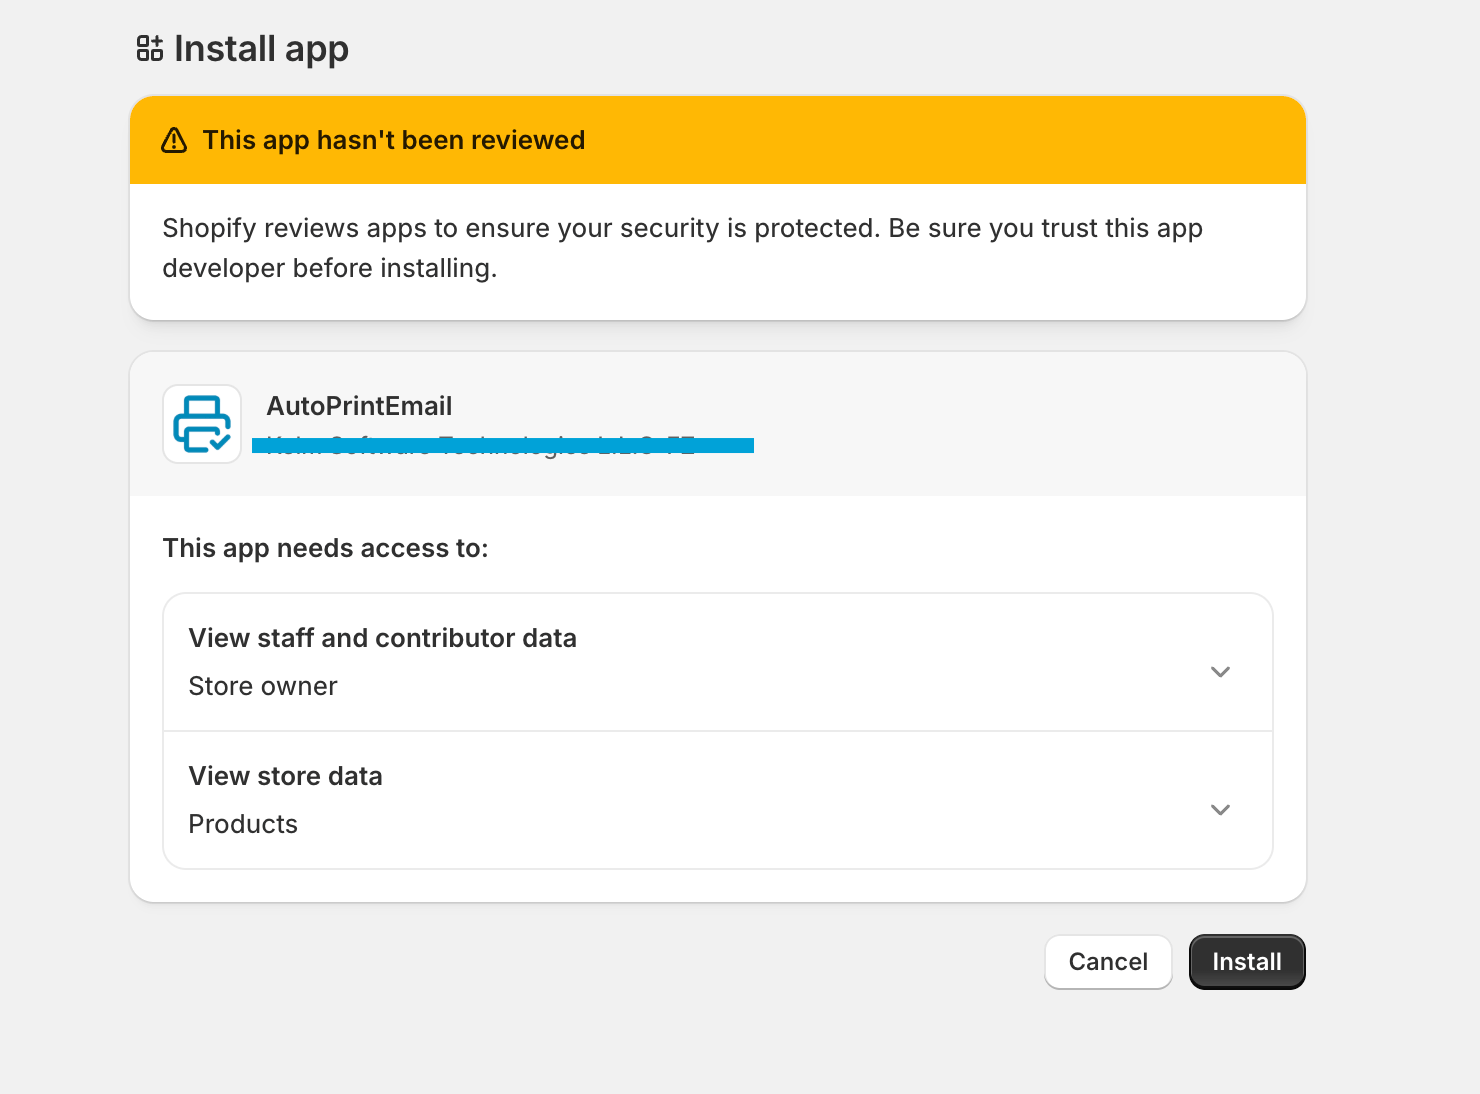
Click Install. Shopify shows you exactly what data the app reads (inventory transfers, shipments, orders, products, locations) and nothing else. Approve it and you land straight in the app.
Confirm Your Email
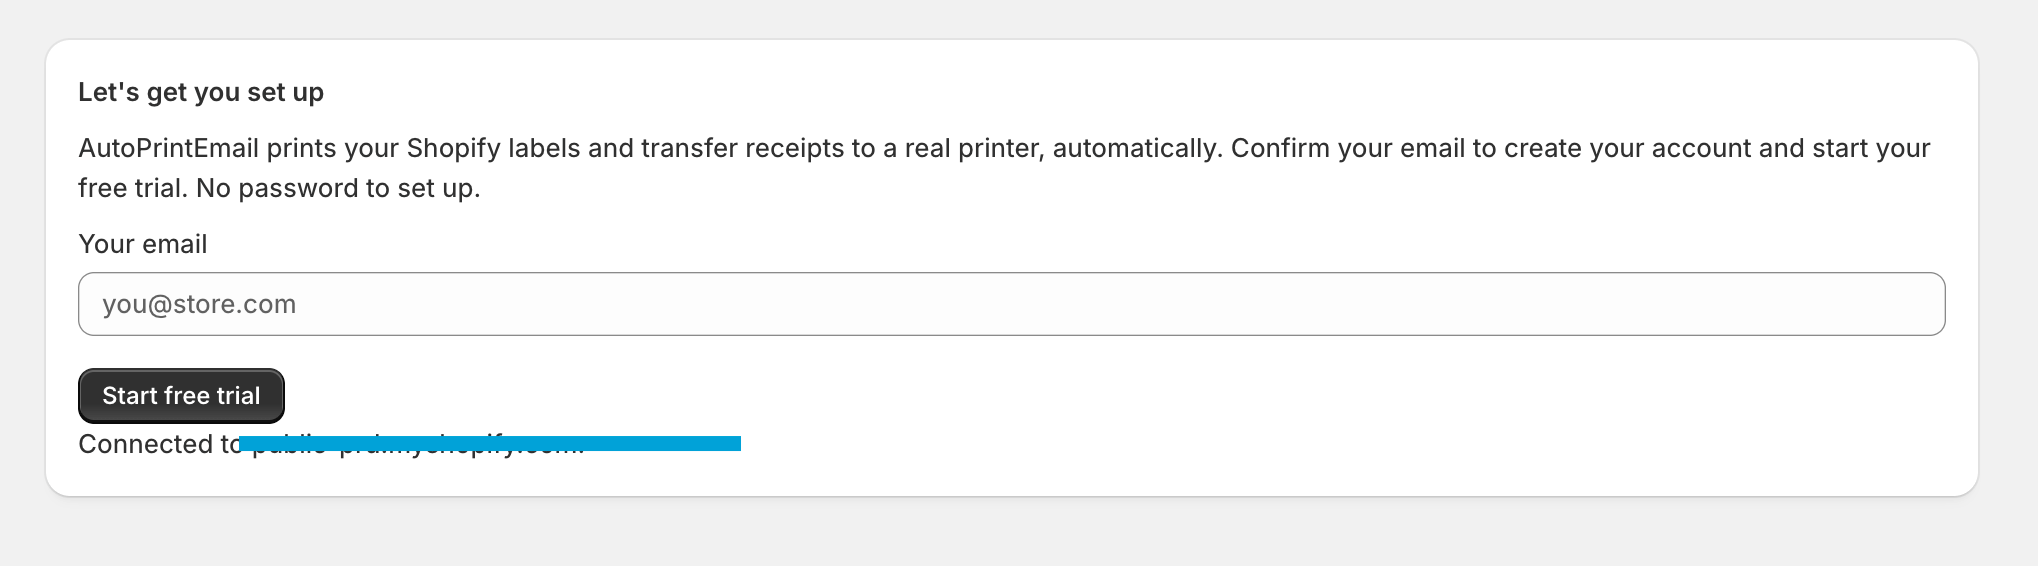
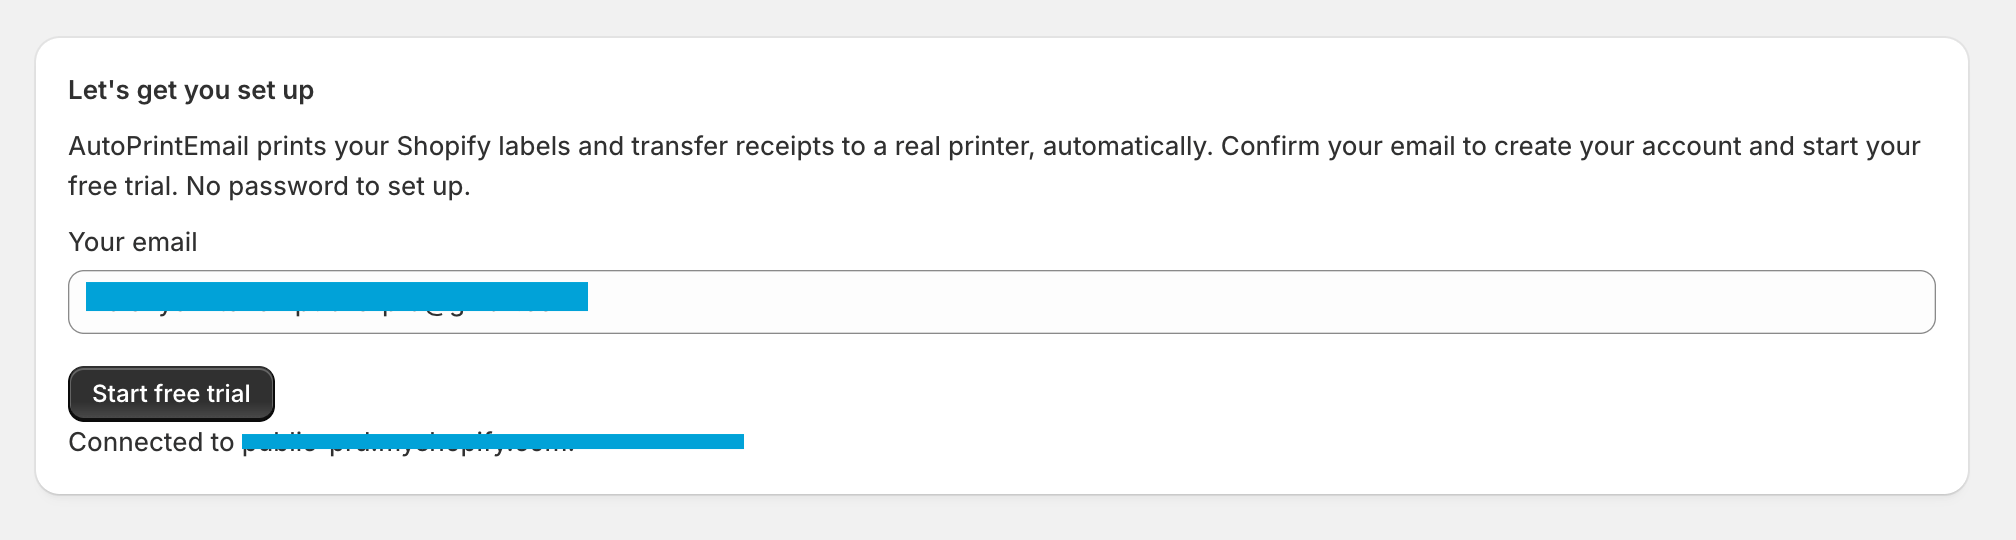
The first time the app opens, it asks for the email that should own this account. We pre-fill it with your Shopify store email, so most of the time you just confirm it and continue.
There is no separate signup and no password to create. We set the account up for you in the background and connect it to this store automatically.
Your Free Trial
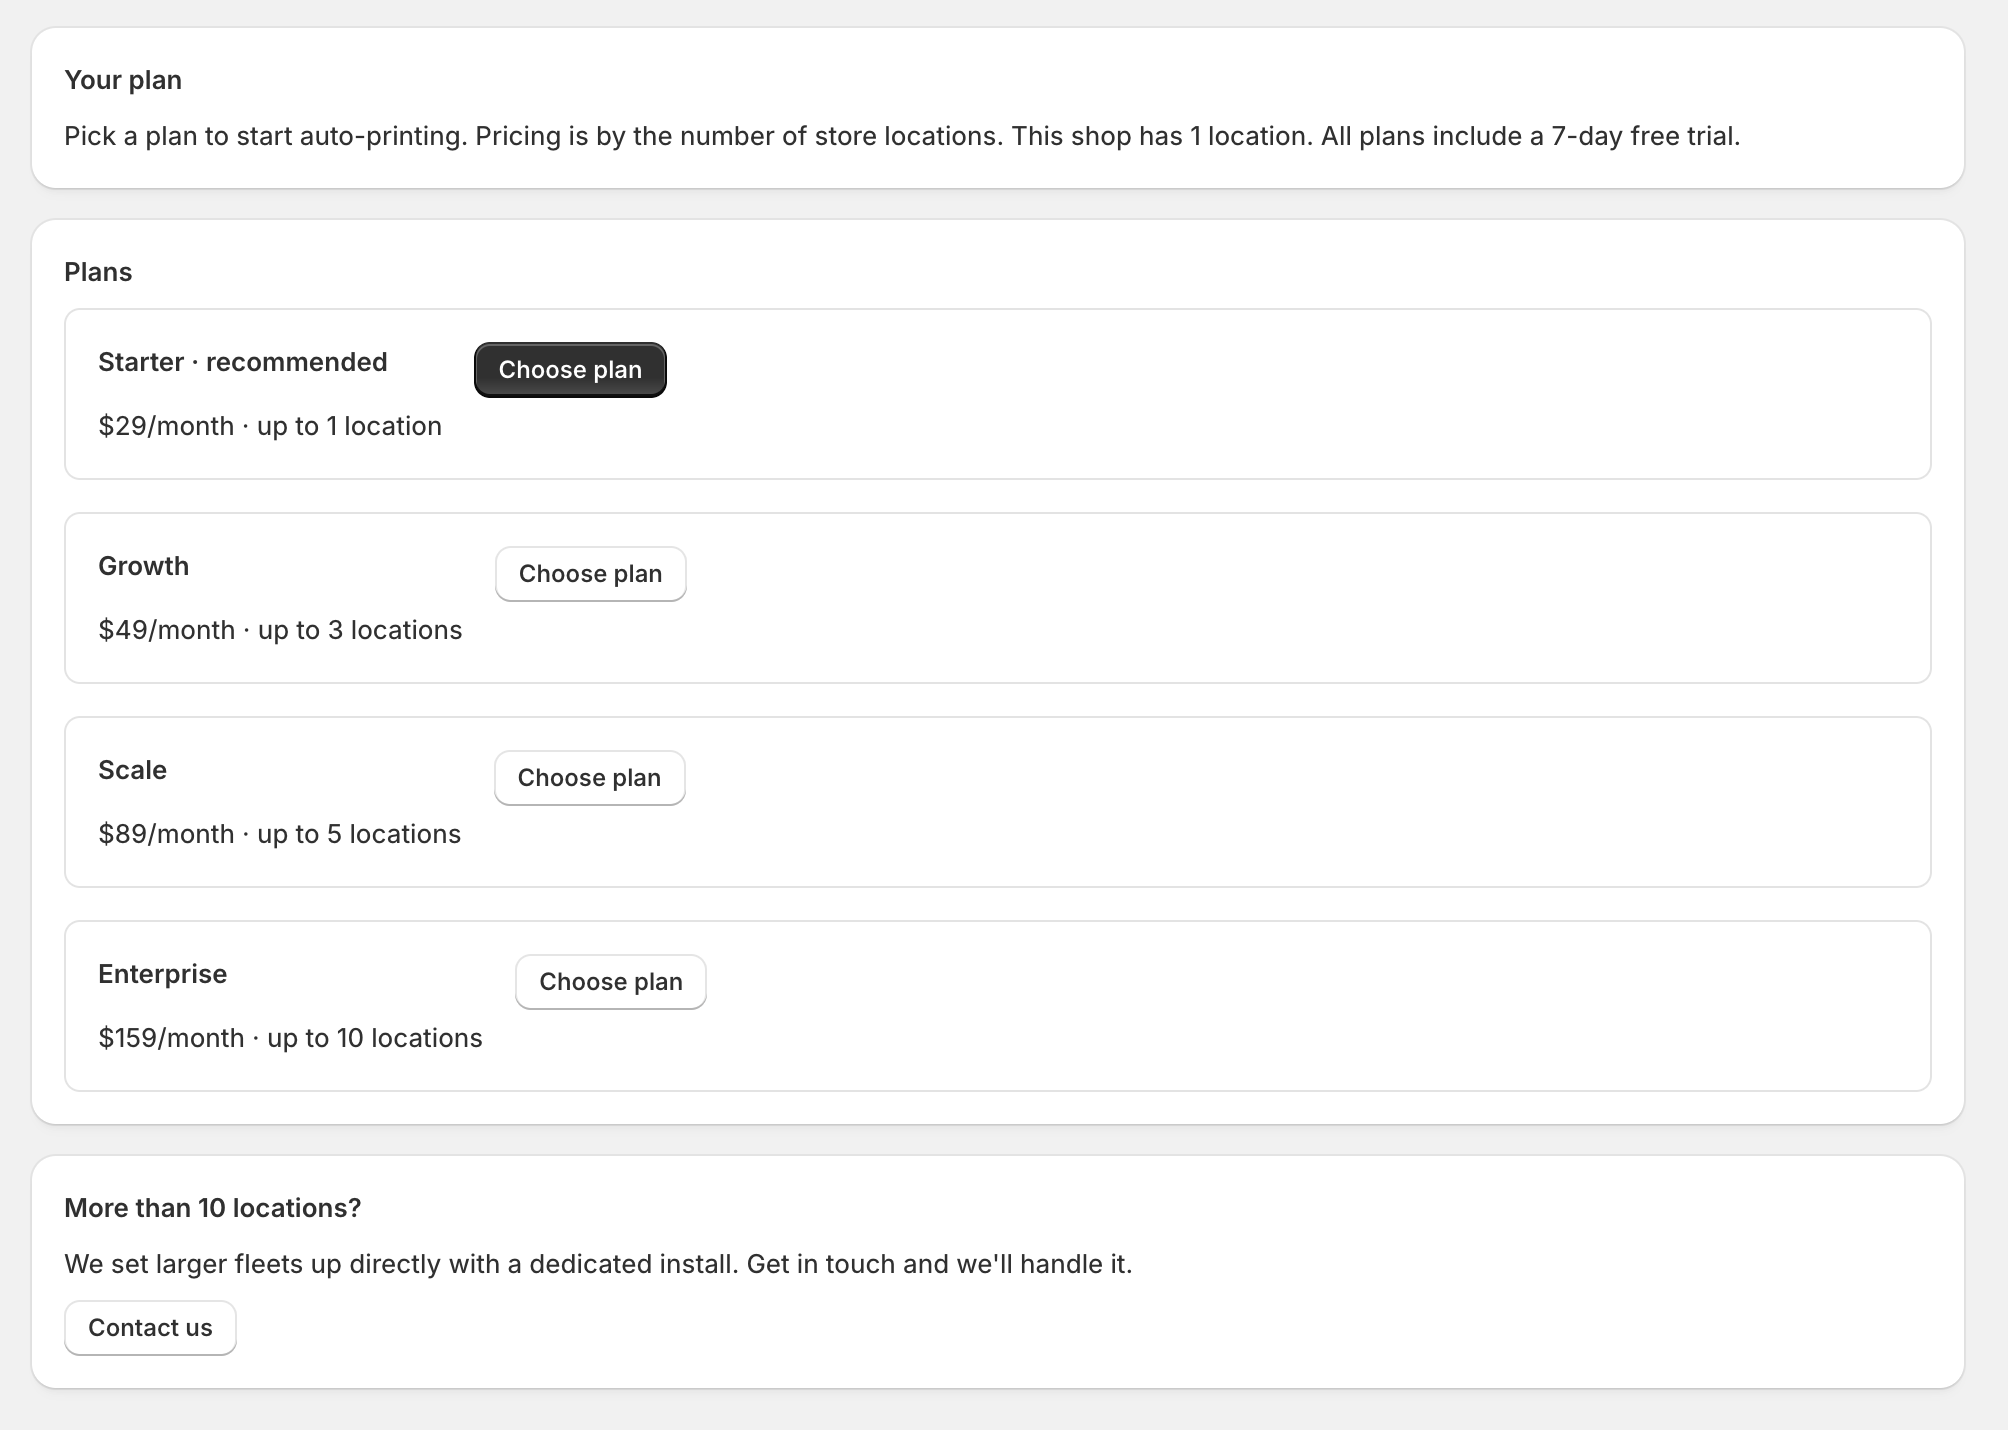
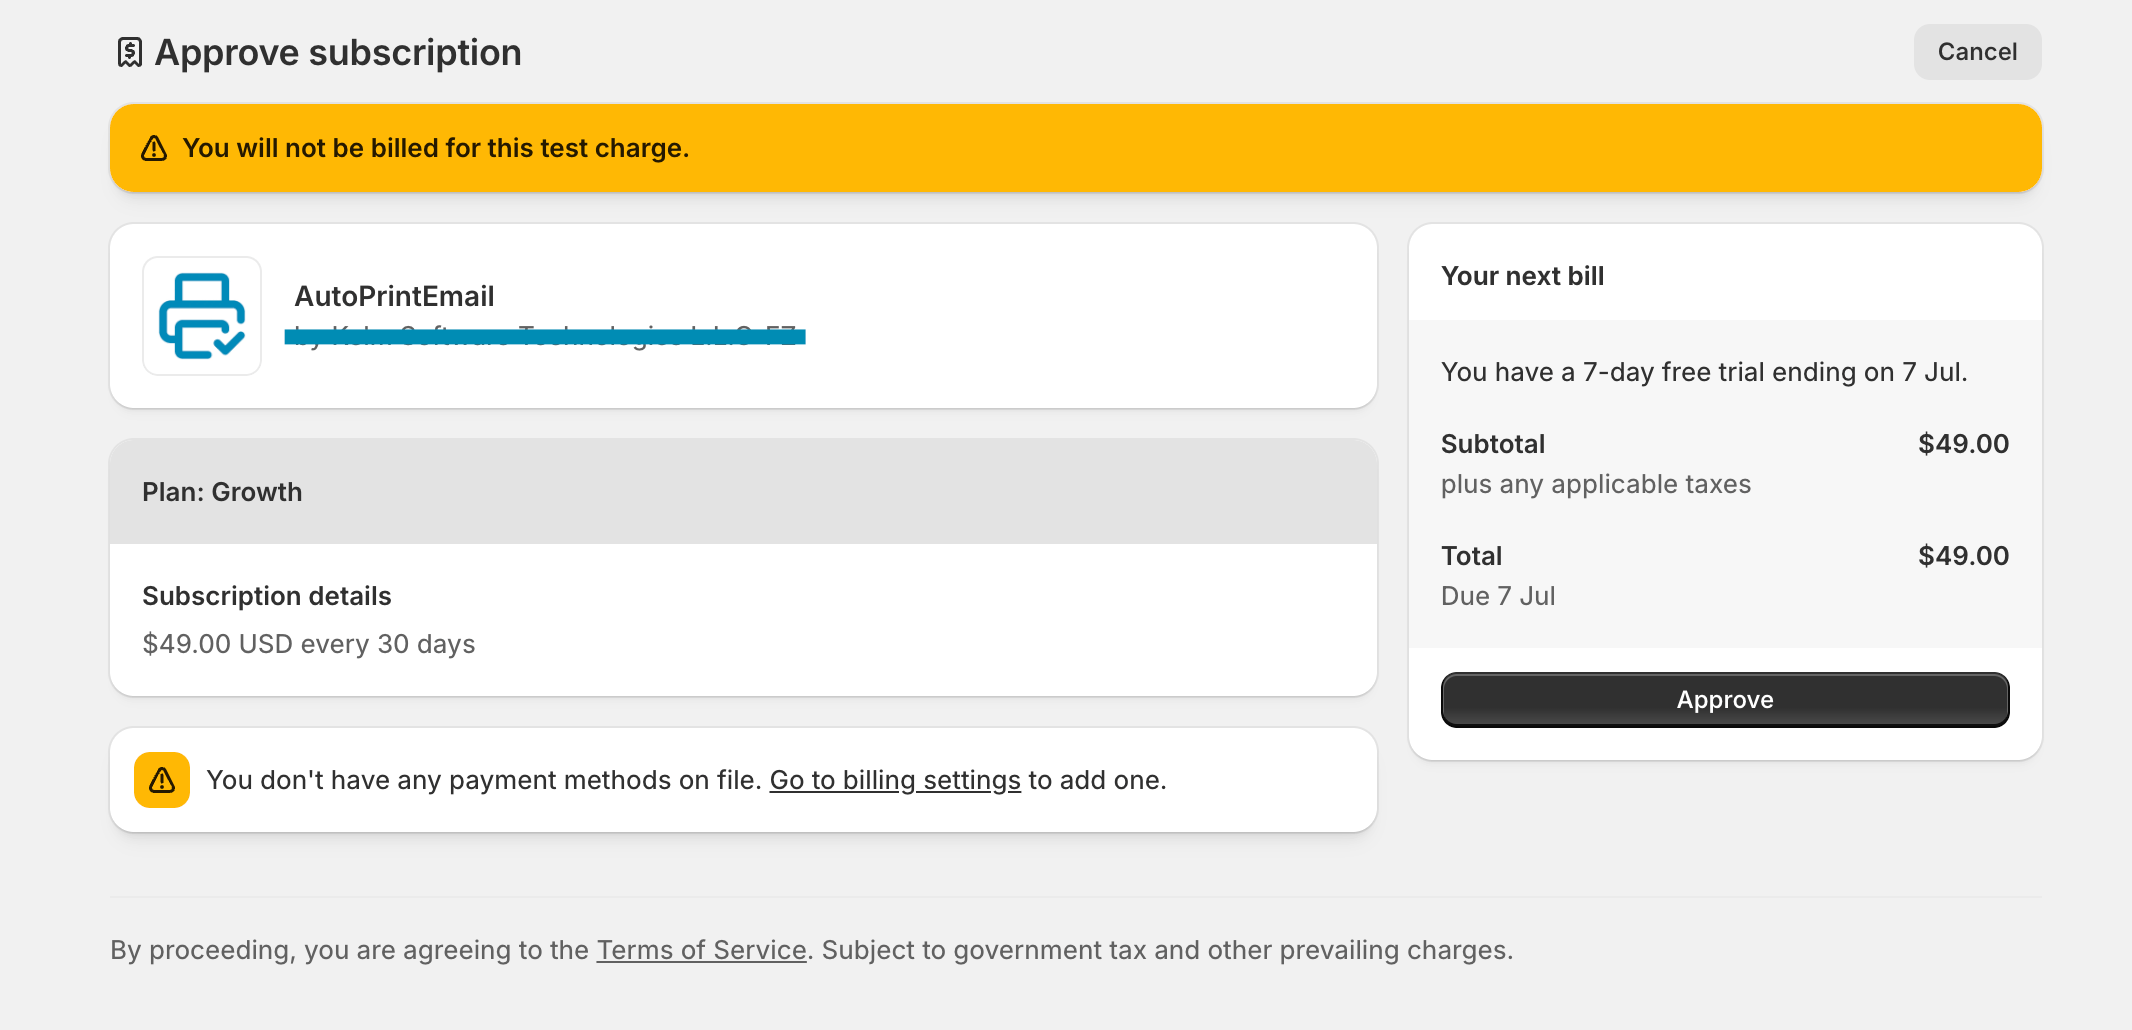
Confirming your email starts your 7-day free trial automatically. There's no plan to pick and no card to enter to get going, so don't worry about pricing yet. Just keep setting up and start printing.
Print Your First Document
You can print right now, from the browser you are reading this in. There is nothing to download and nothing to set up first.
Open Print queue in the app. This is where every document lands, and it is the main way to print.
Click Sample transfer label or Sample packing slip. One renders in a few seconds and appears in the list. Click Print next to it and the document opens in your browser's normal print dialog, so you can send it to any printer you can already reach: the one on your desk, one down the hall, or a PDF if you just want a look.
That is the whole loop. Real documents arrive in exactly the same place, and you print them exactly the same way. If you ever need a second copy of something, Print again is there next to it.
Receive a Transfer and Print the Labels
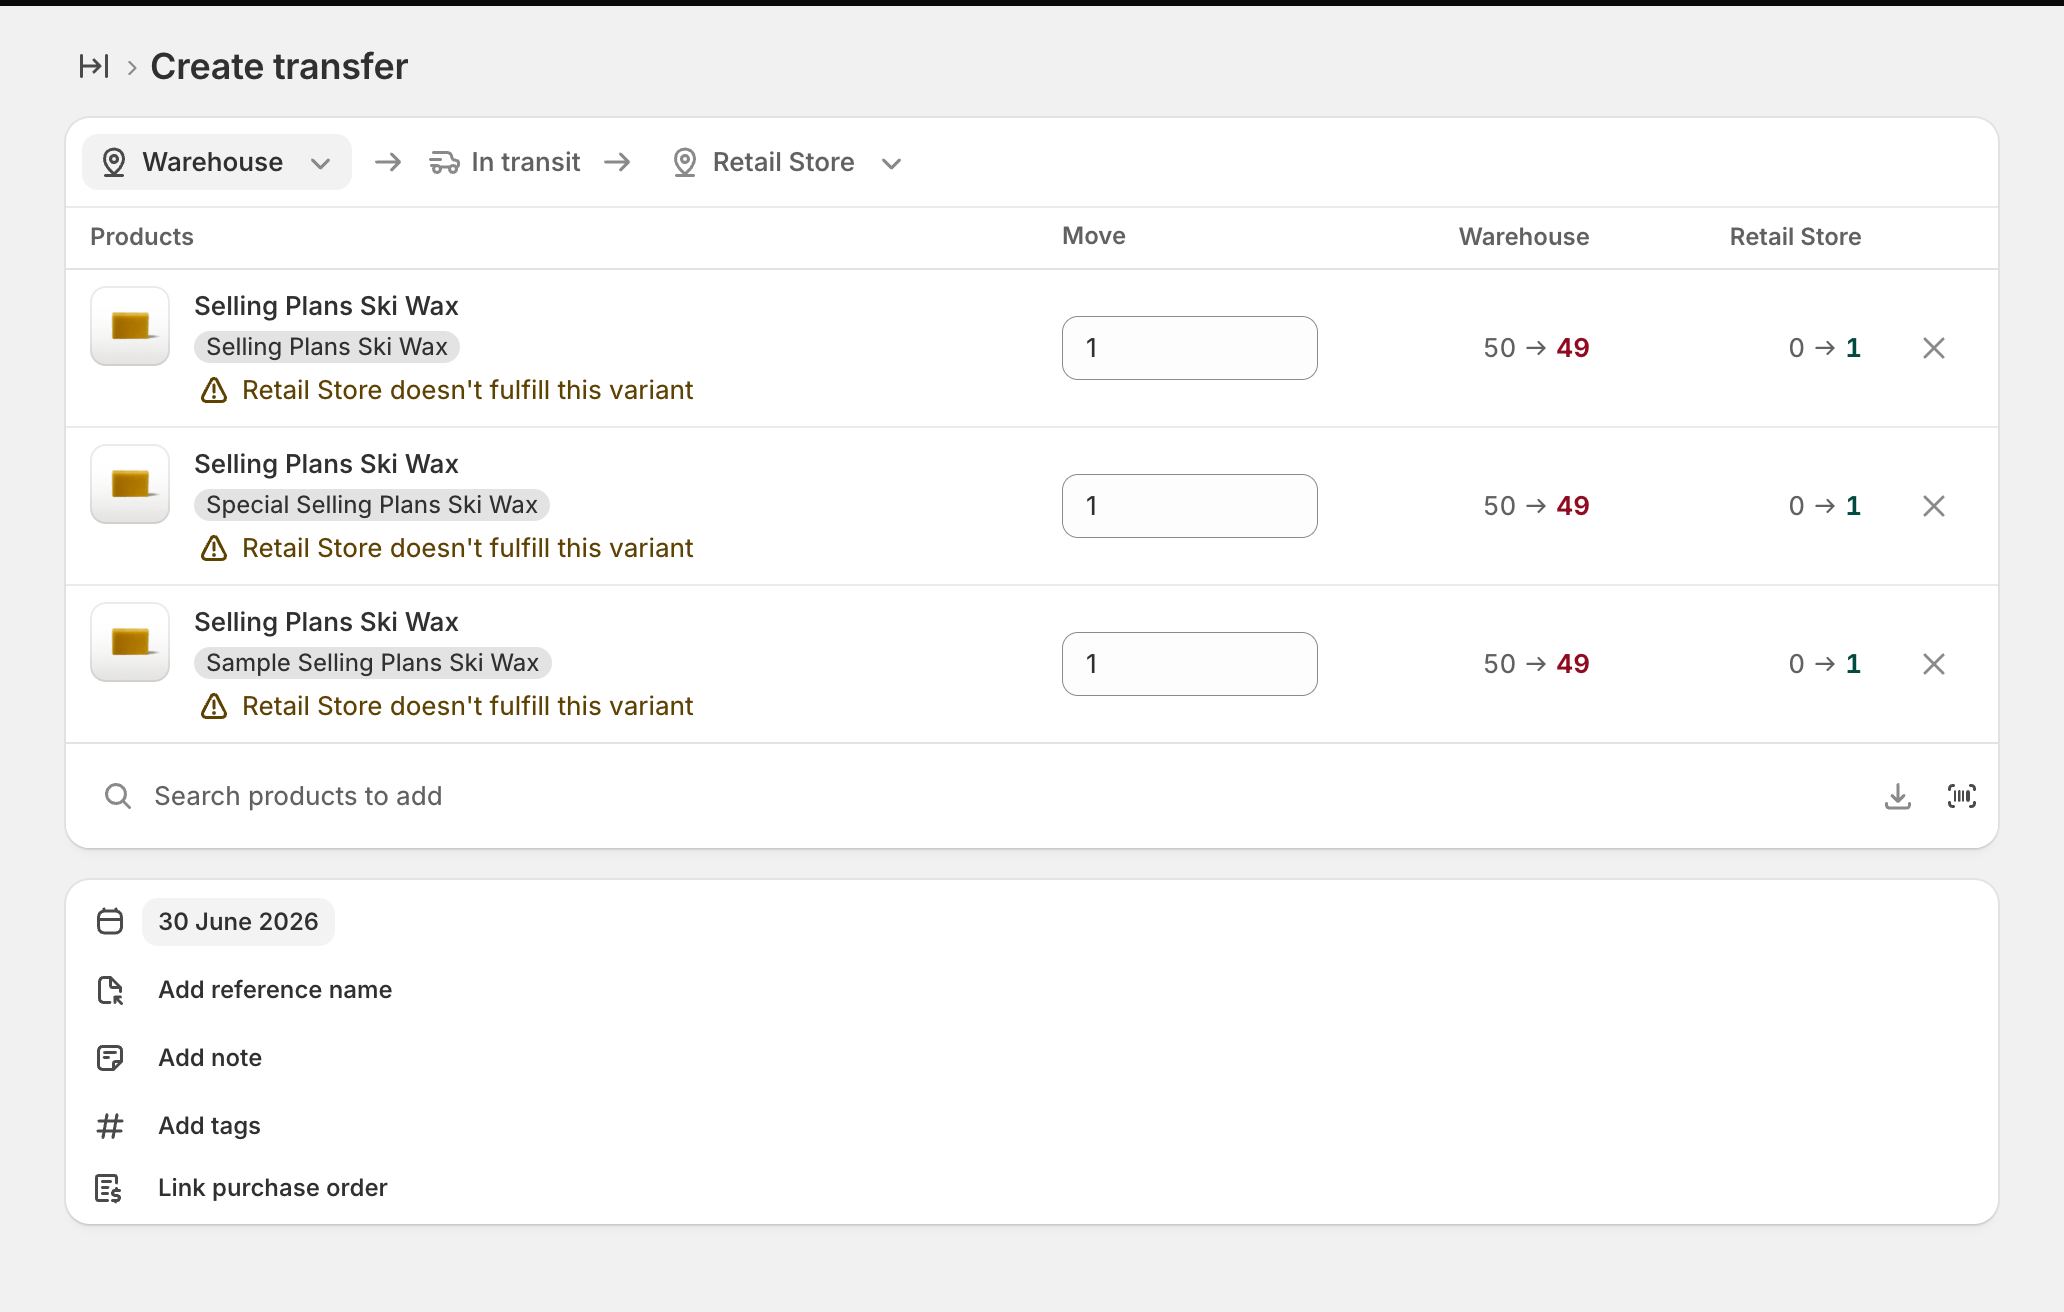
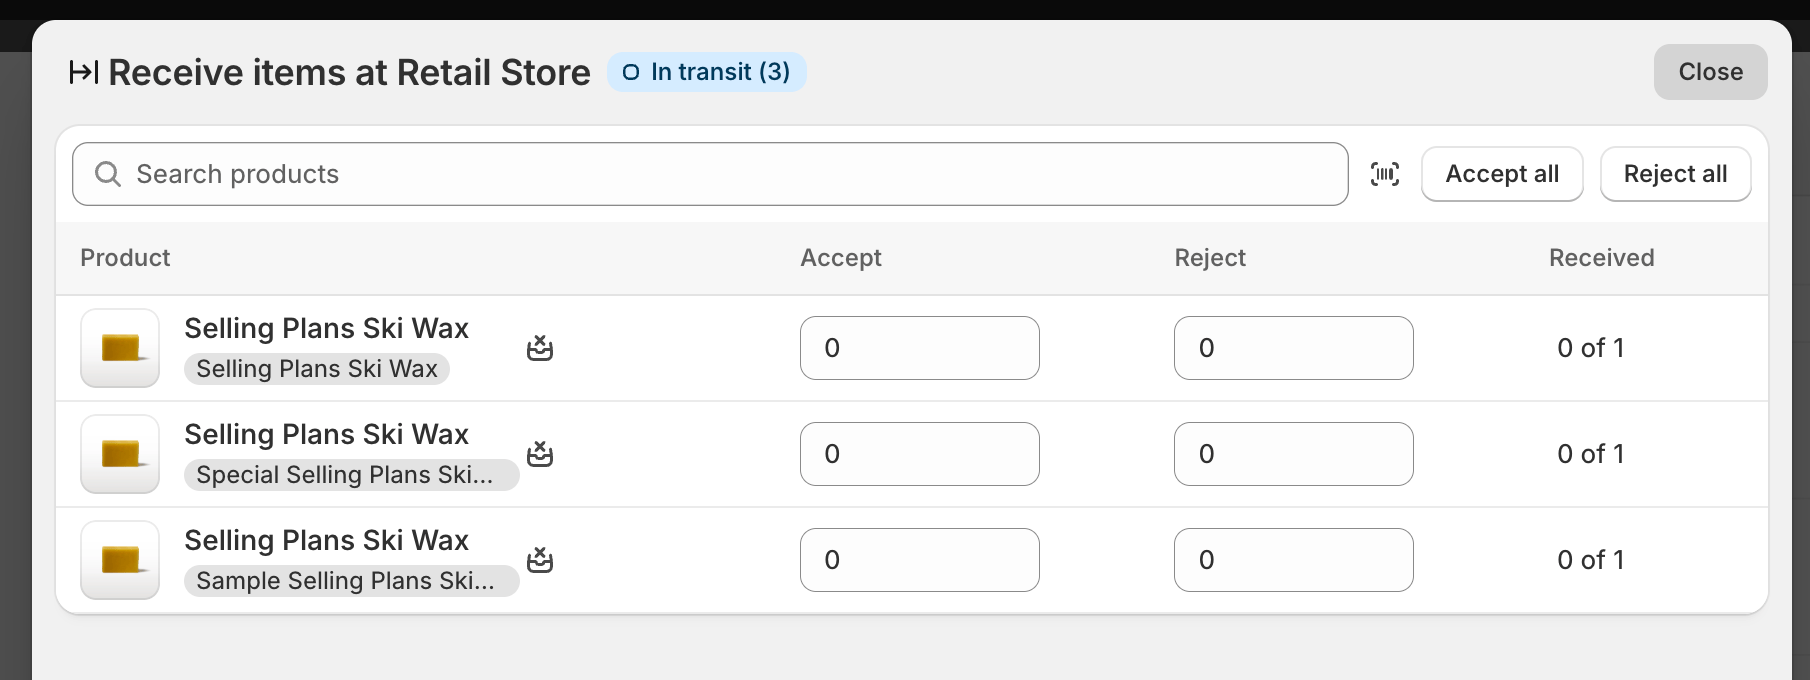
Now a real one. In Shopify, receive part of an inventory transfer.
Within a few seconds the barcoded labels are waiting in Print queue. Click Print and they come out.
Receive a partial transfer and you get labels for just those items; receive the rest later and you get labels for the rest. The final receive never reprints the whole transfer.
Customize Your Documents
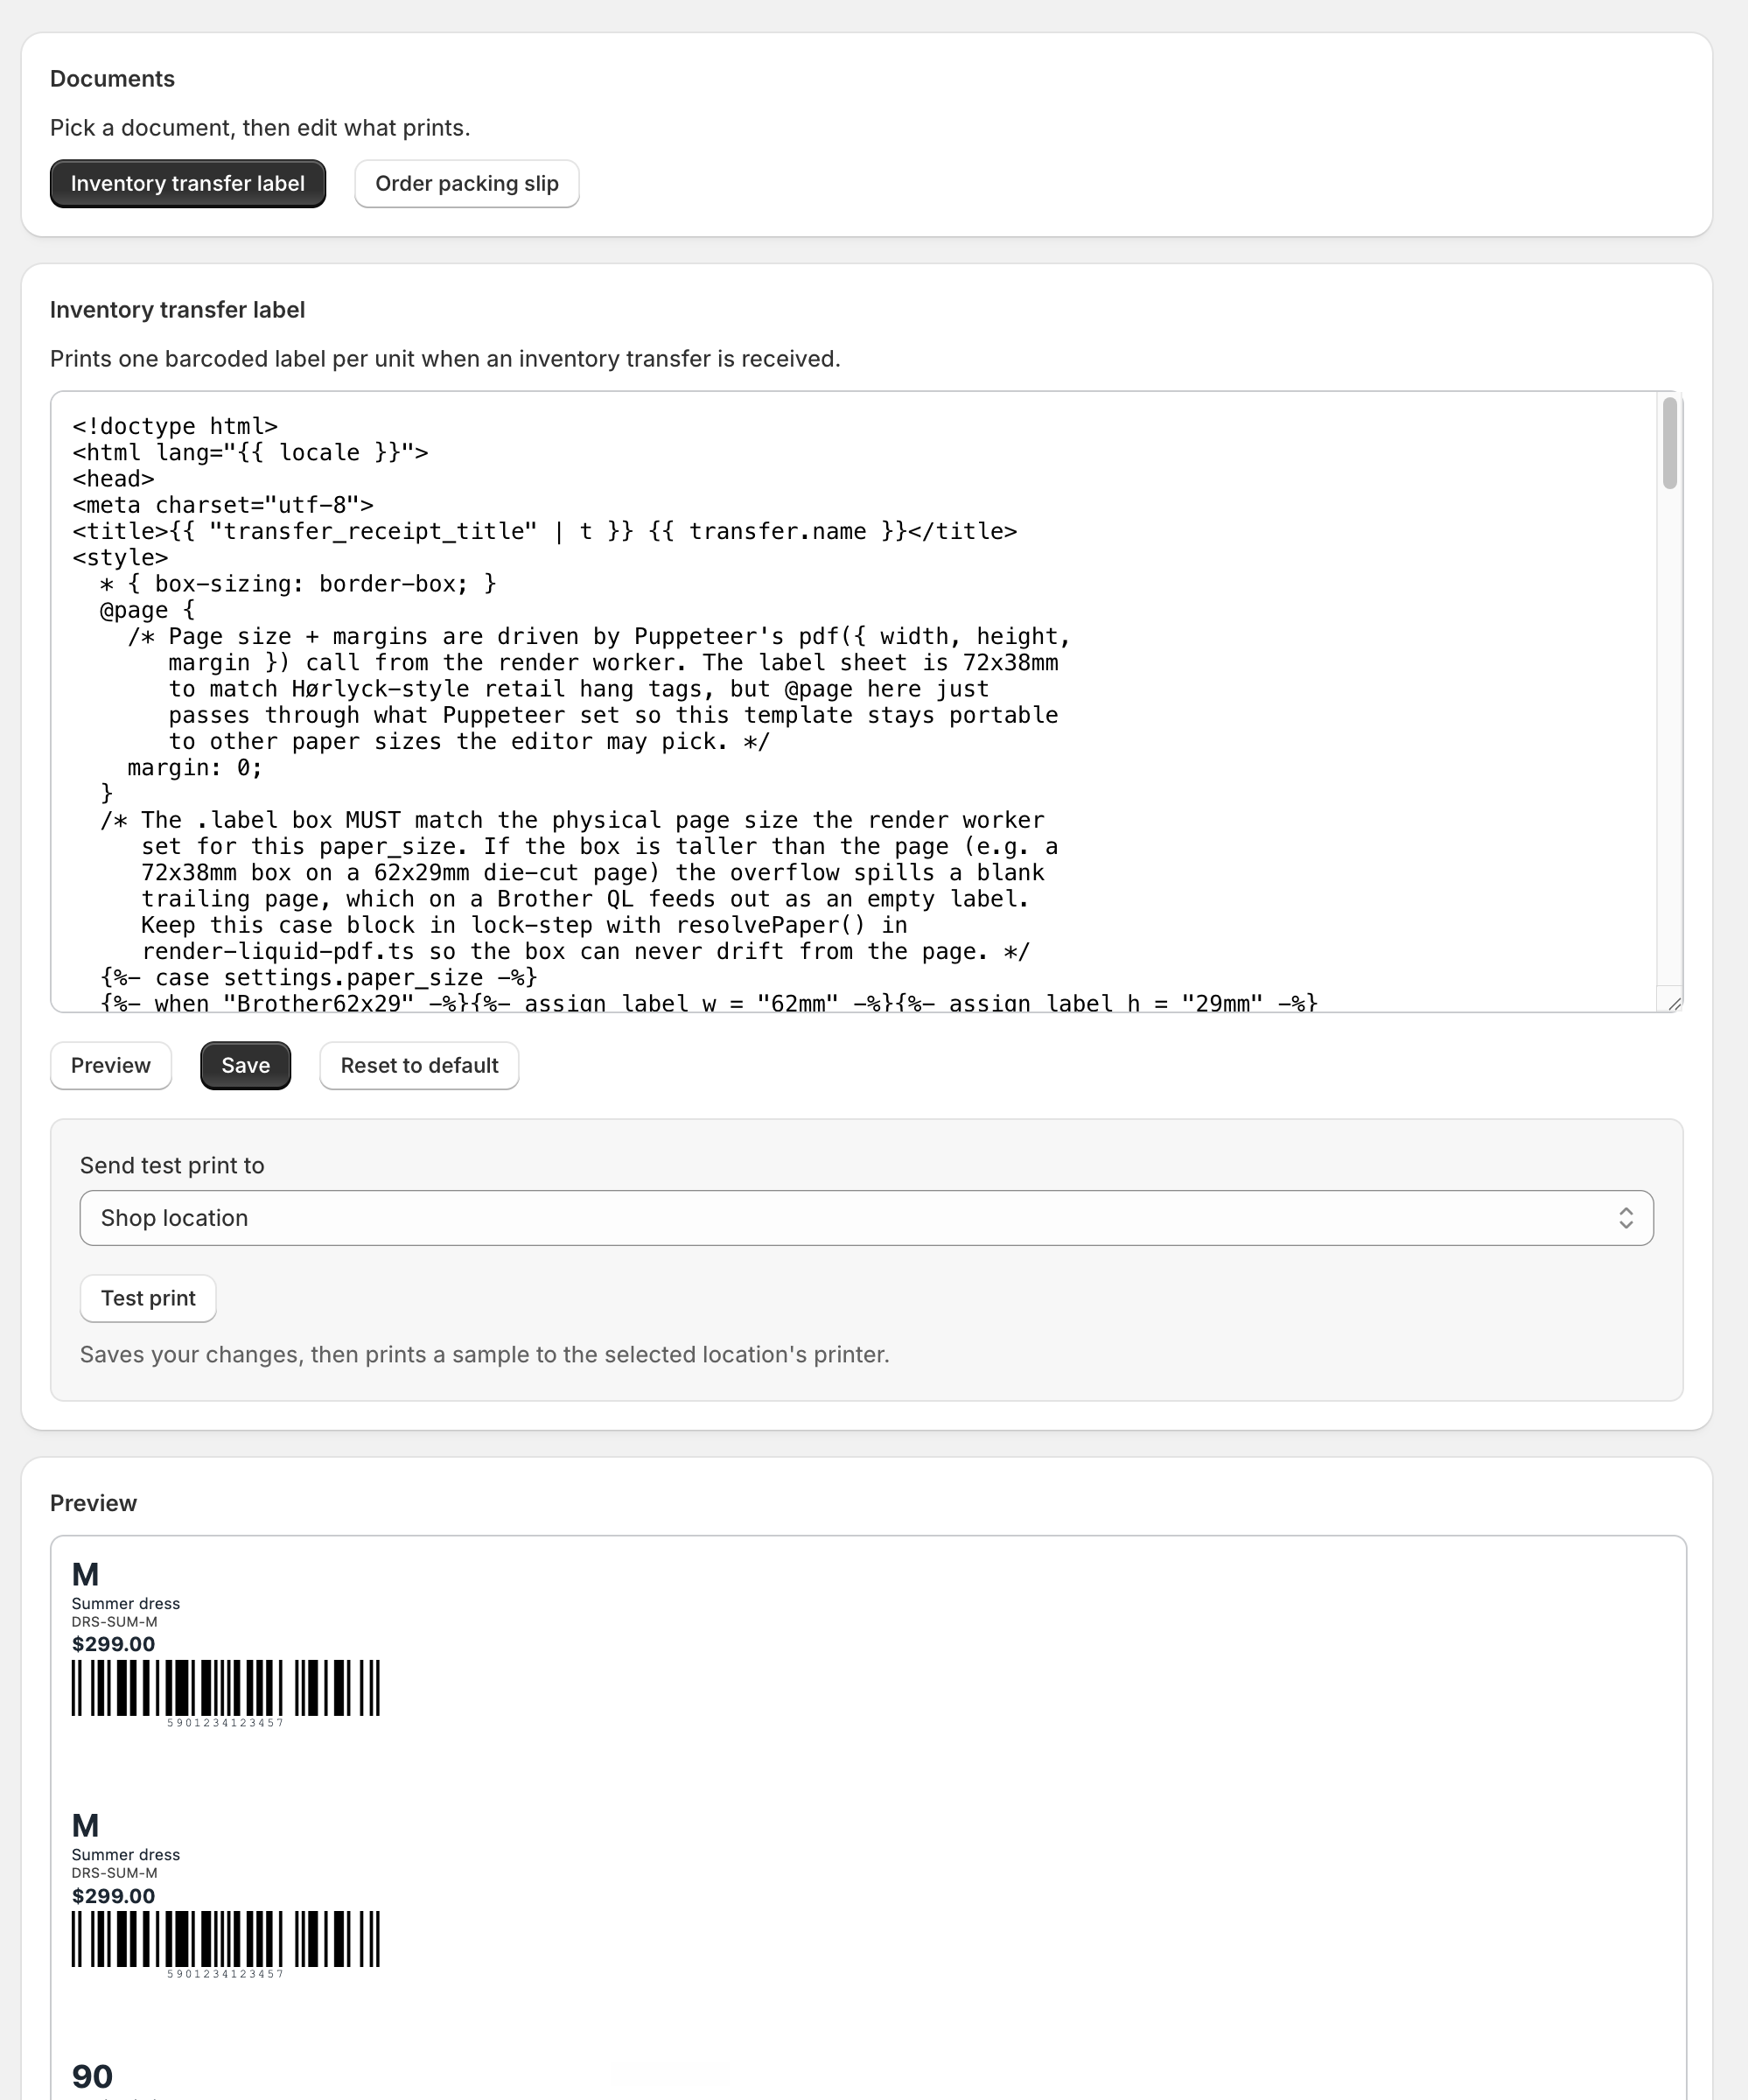
Open Templates. This is where you shape what comes out, for each document, without touching code if you do not want to.
Pick the document (the transfer label or the order packing slip), tweak it, and watch the live preview update as you go. When it looks right, click Save and print a sample: it saves your changes and drops a sample into Print queue so you can print it and hold the real thing.
Print Packing Slips for Orders
Transfers print out of the box. Order packing slips are one switch away: open Settings in the app and tick the Order paid trigger, then Save.
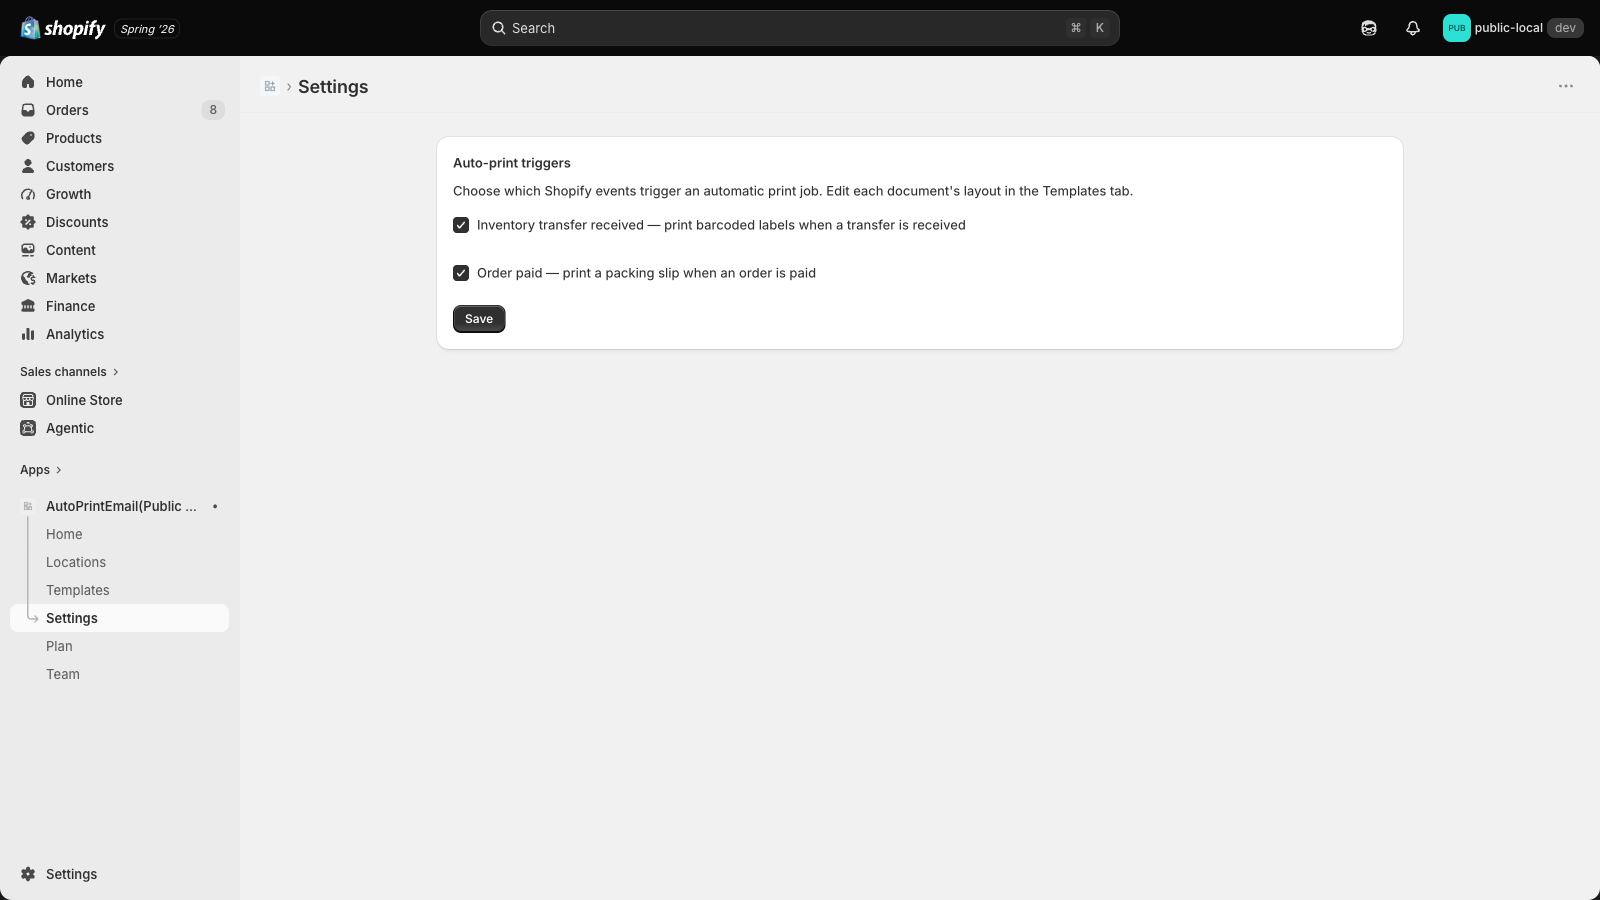
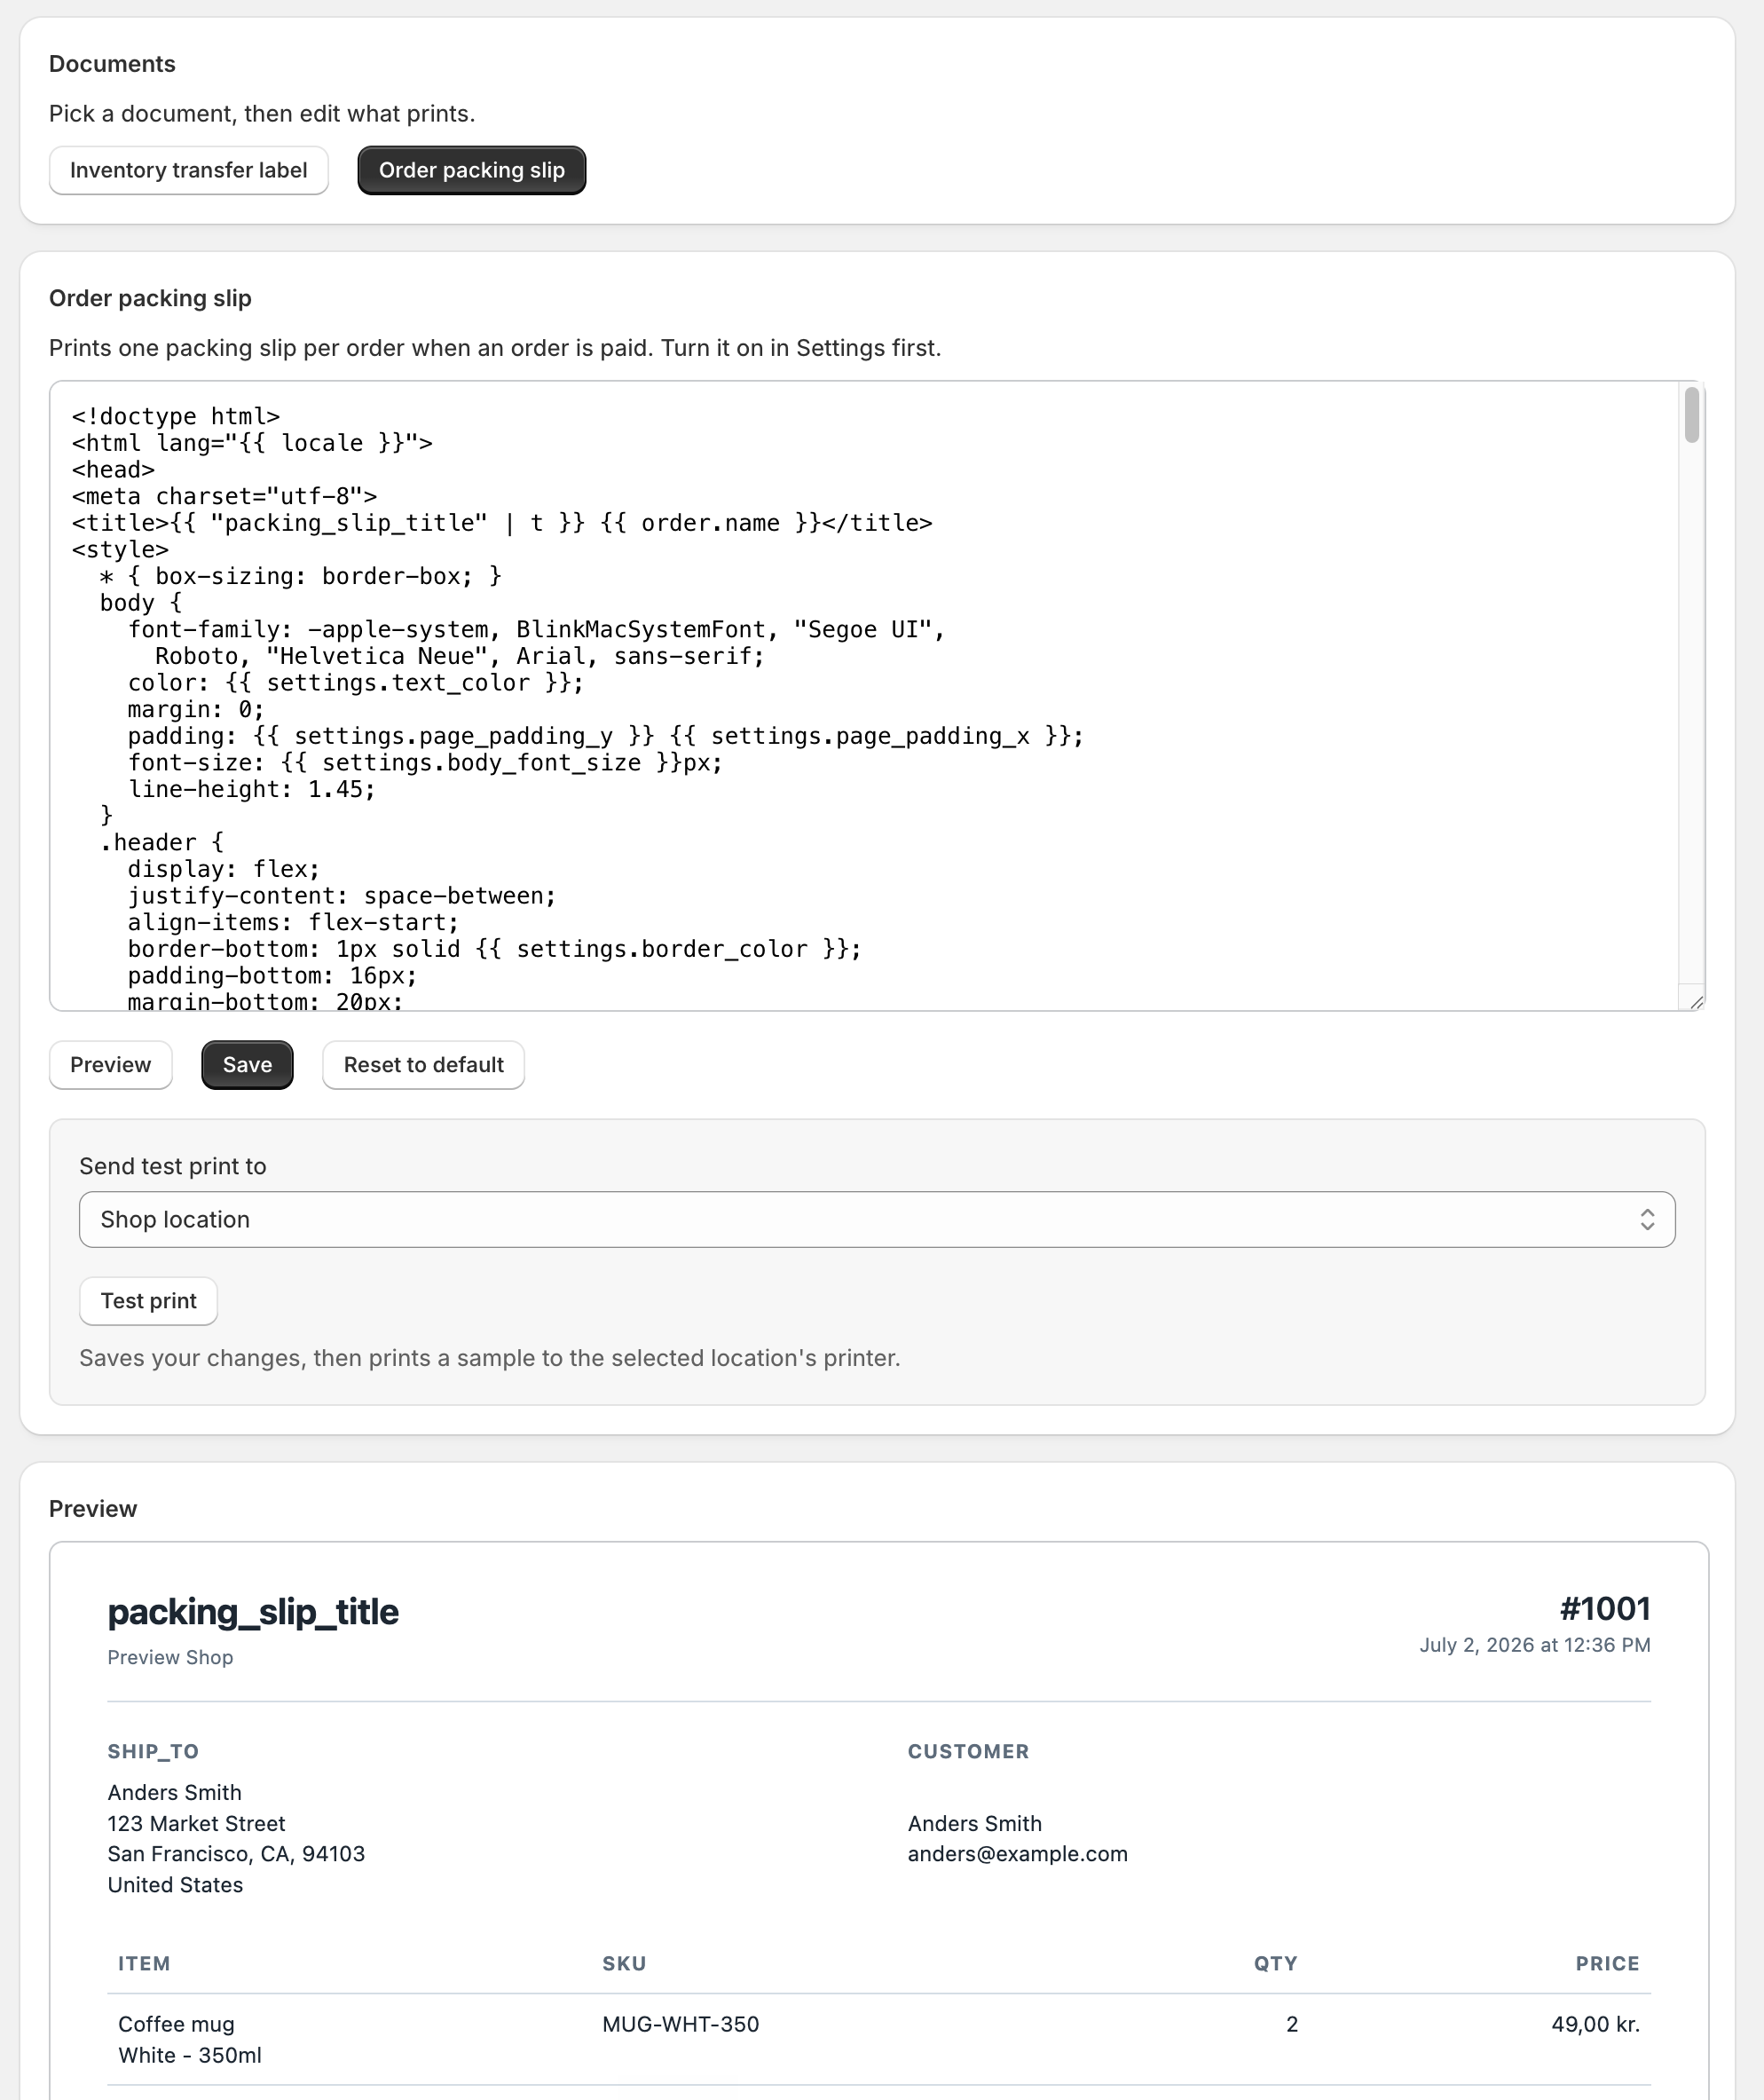
From then on, every paid order puts one packing slip in your Print queue: ship-to address, every line item, and the totals, ready to drop in the box. It is one full-page document per order, not one per item.
The slip's layout lives in Templates under Order packing slip, with the same live preview and sample print as the transfer label.
Optional: Print Without Anyone Clicking
Everything above works with nothing installed. If you would rather the paper simply appeared, with nobody at the screen, that is what the print bridge adds. It is entirely optional, and you can add it whenever you like.
The print bridge is a small companion app that sits on the computer next to your printer. Think of it like a printer driver: it picks documents up as they arrive and prints them, so nobody has to click.
Download it for the computer at your print station, install it, and open it.
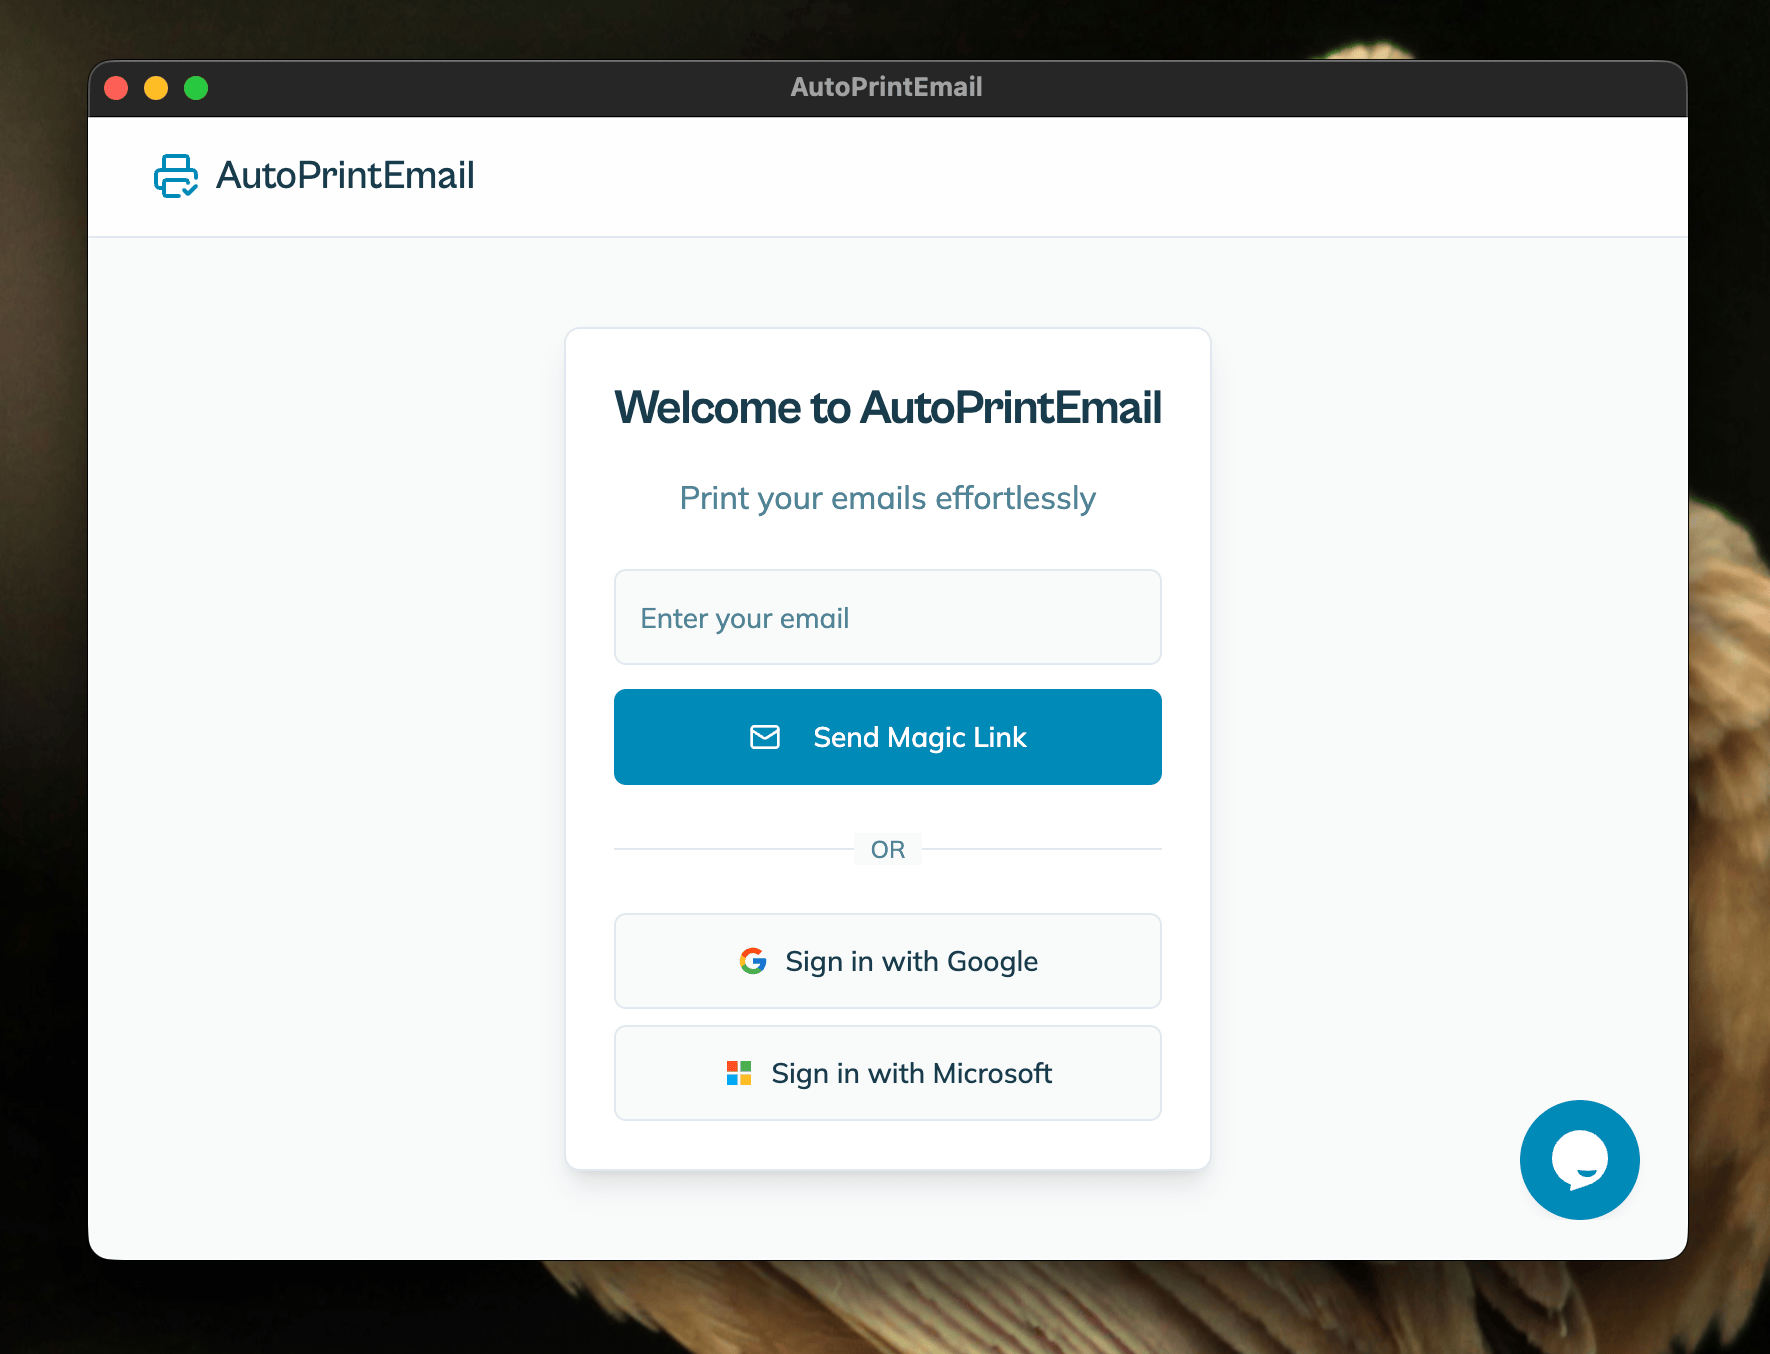
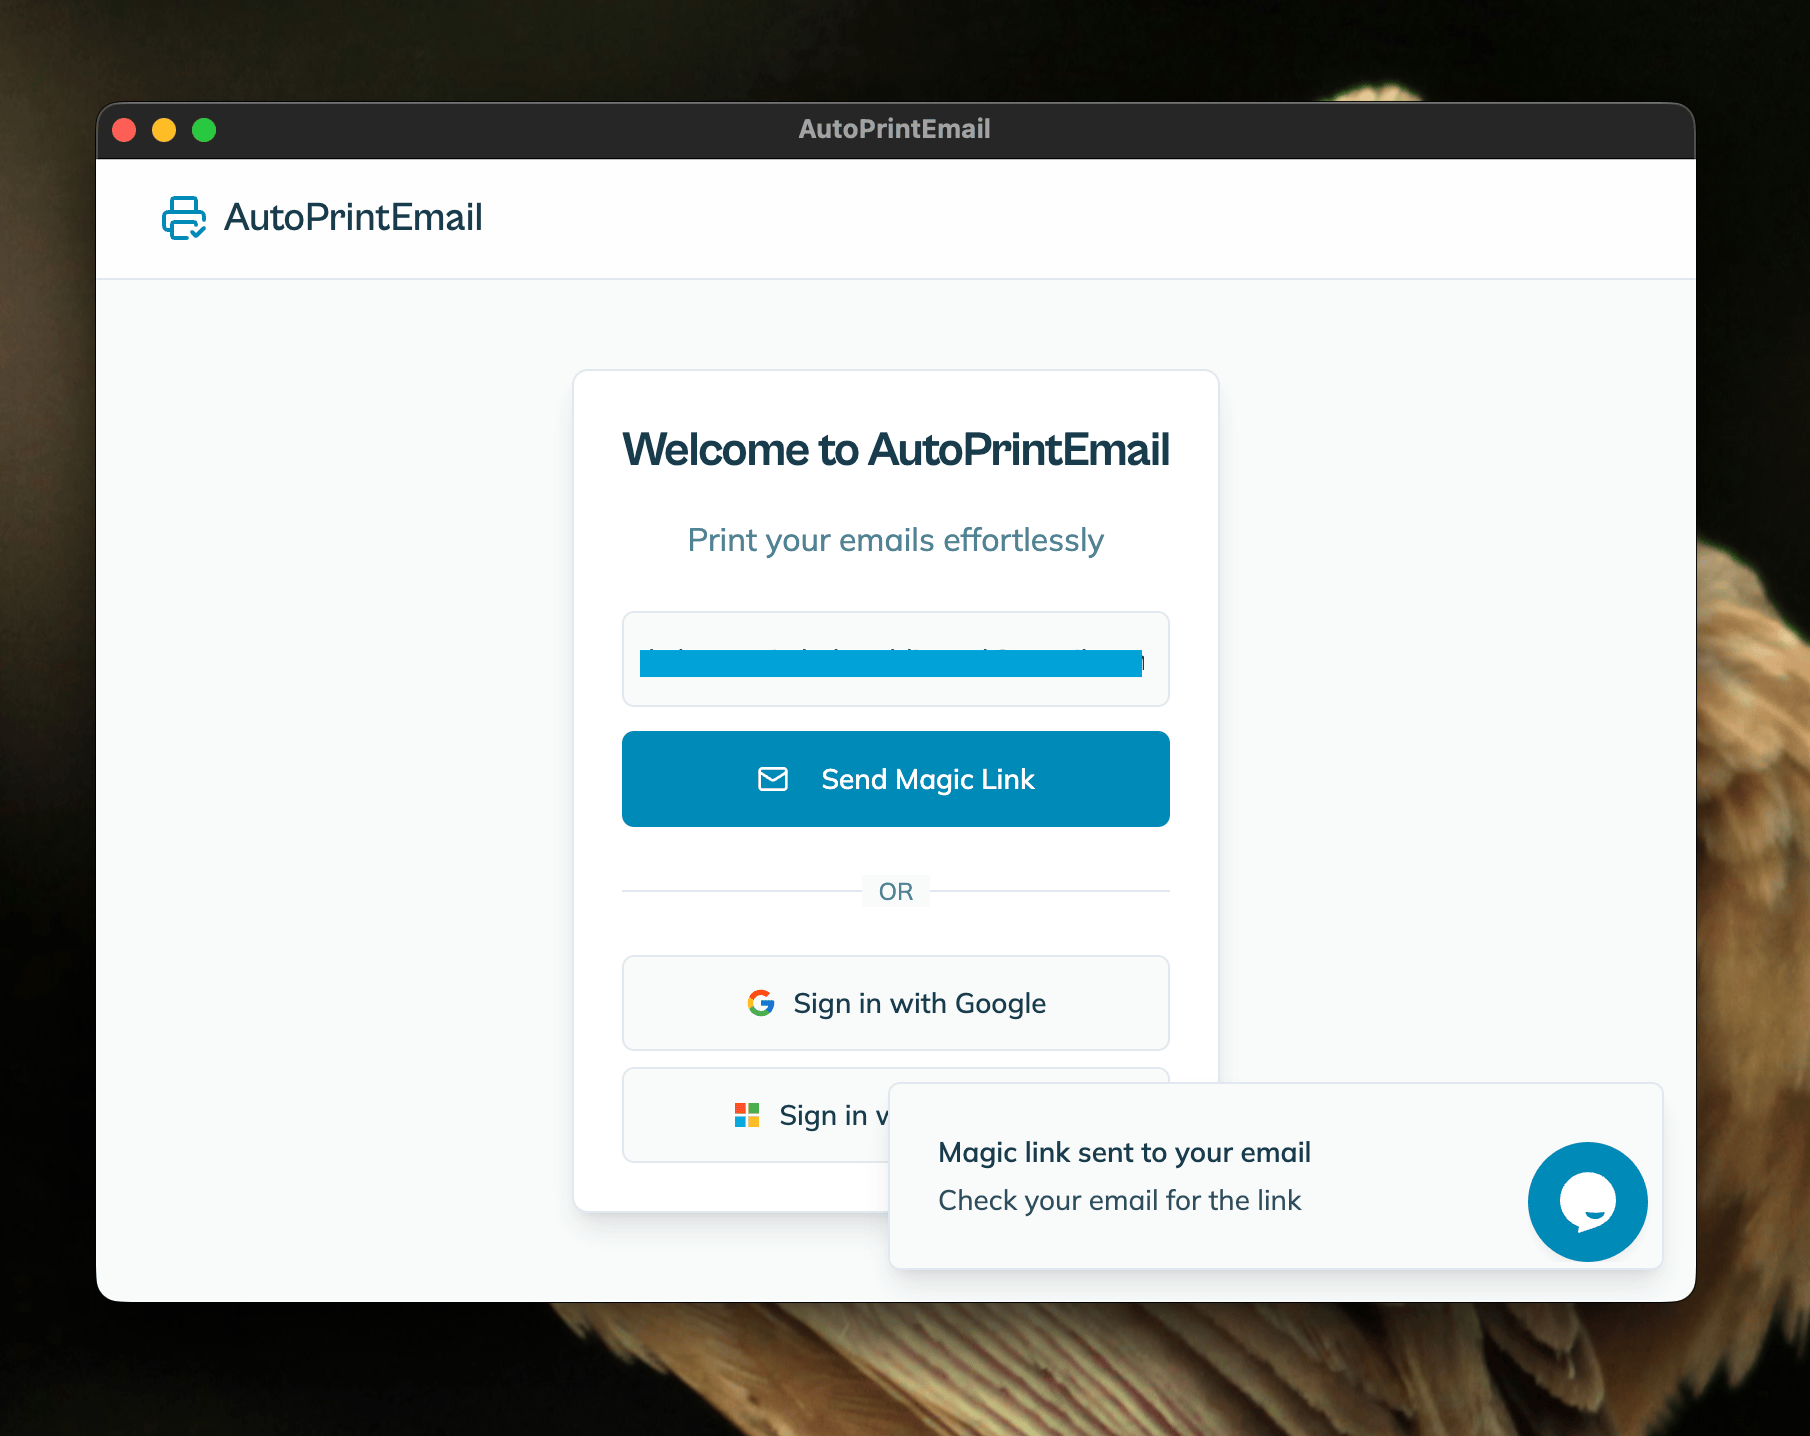
When the bridge opens, it asks for your email. Enter the same email you confirmed earlier and click the link we send you. No password, no separate account.
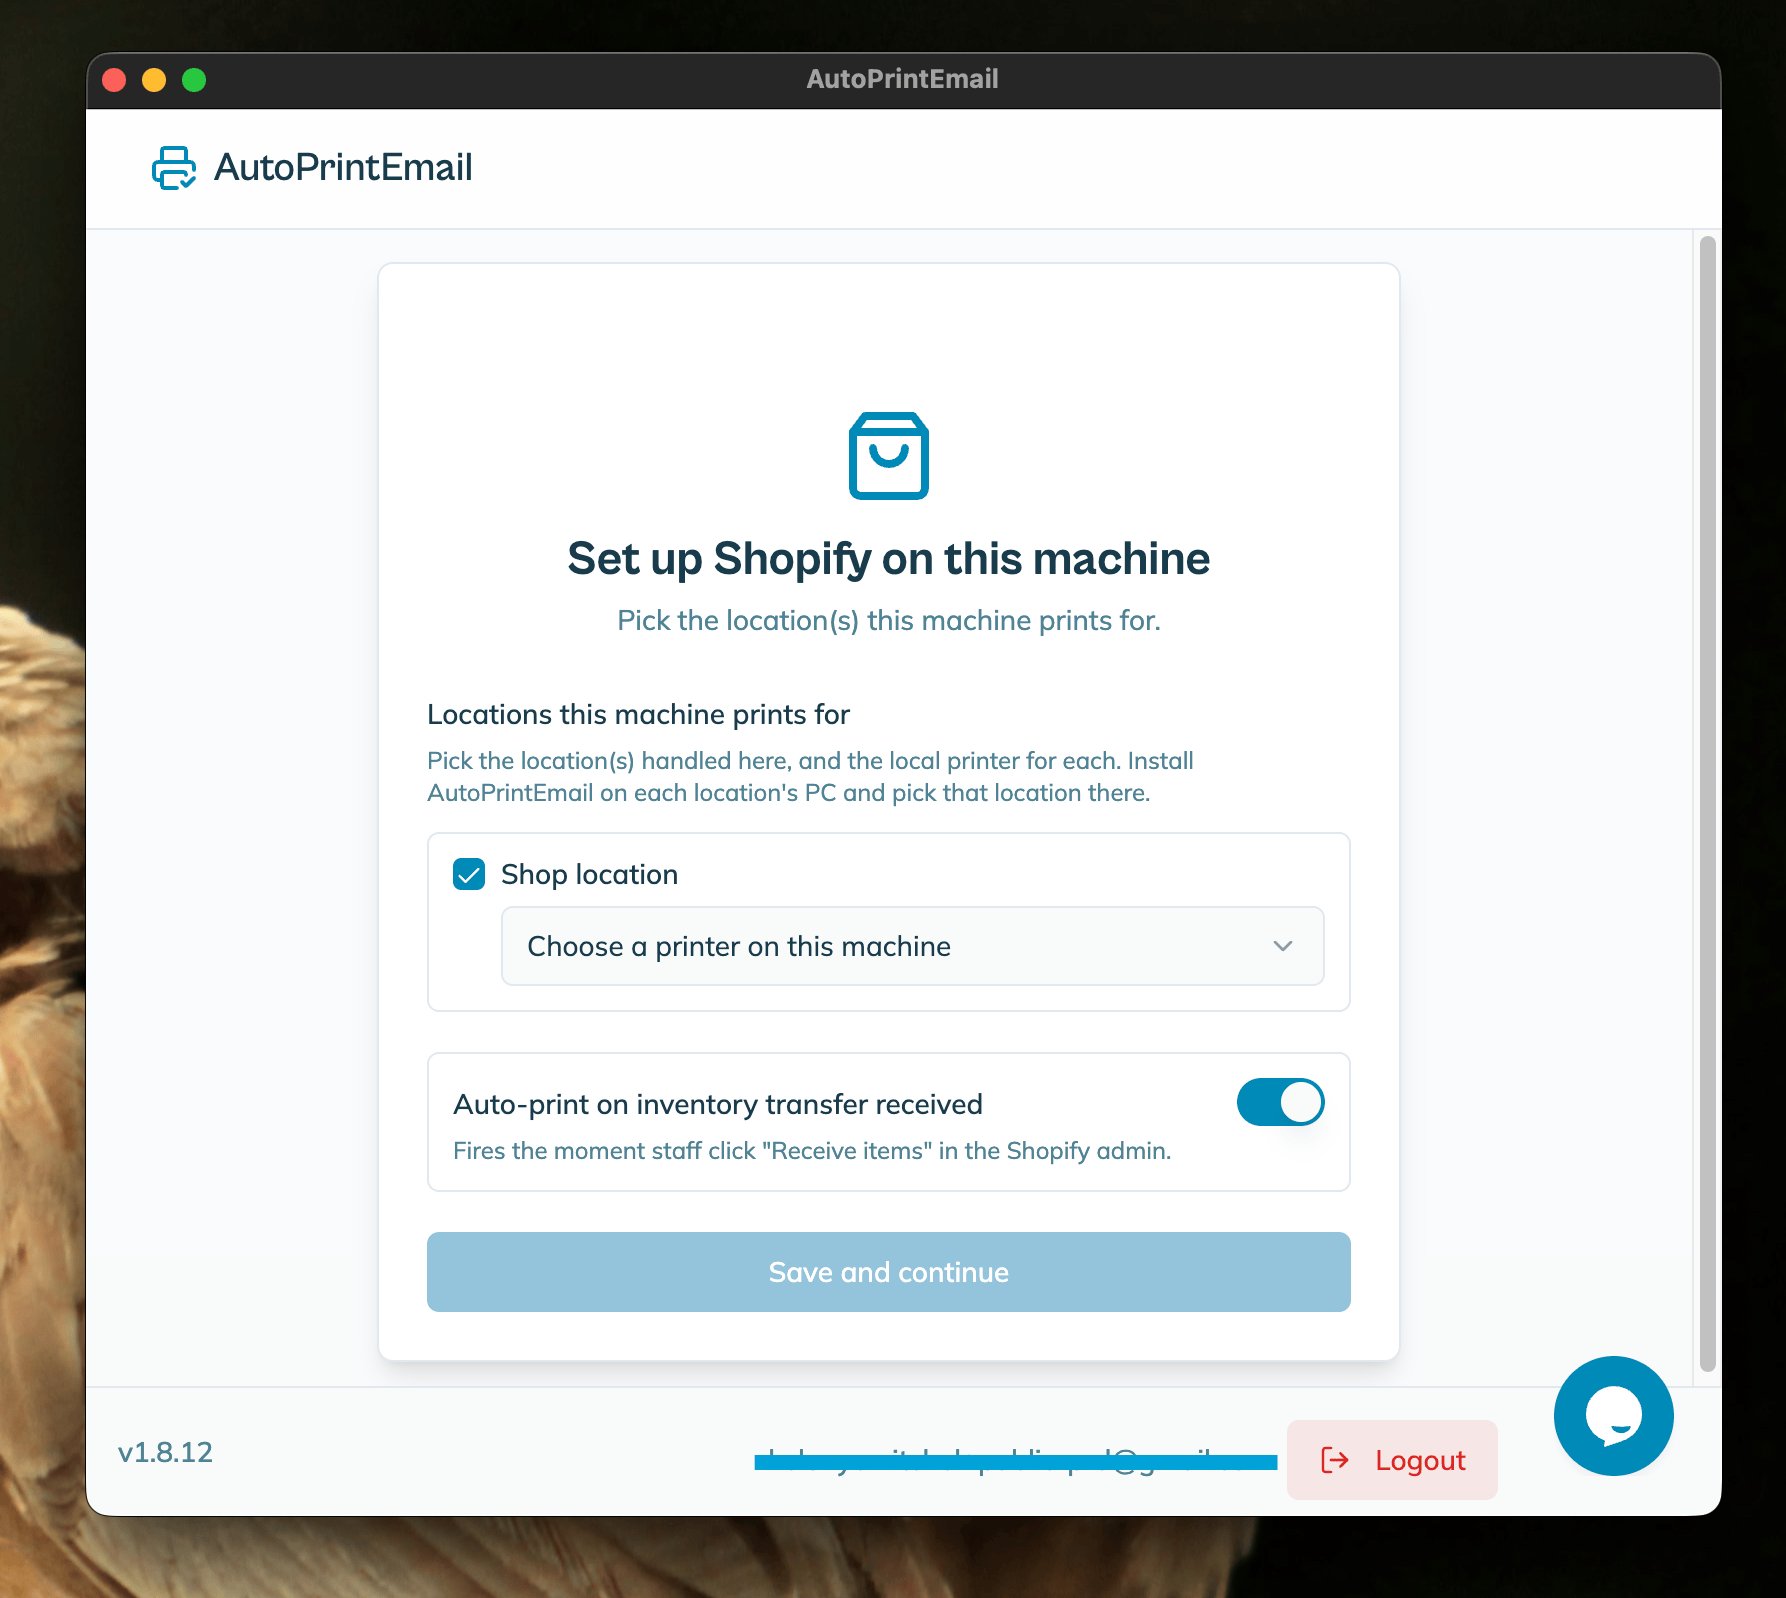
Then tell it which Shopify location this computer prints for, and pick the printer to use. A station in your Aarhus shop prints Aarhus labels; a station in your warehouse prints warehouse labels.
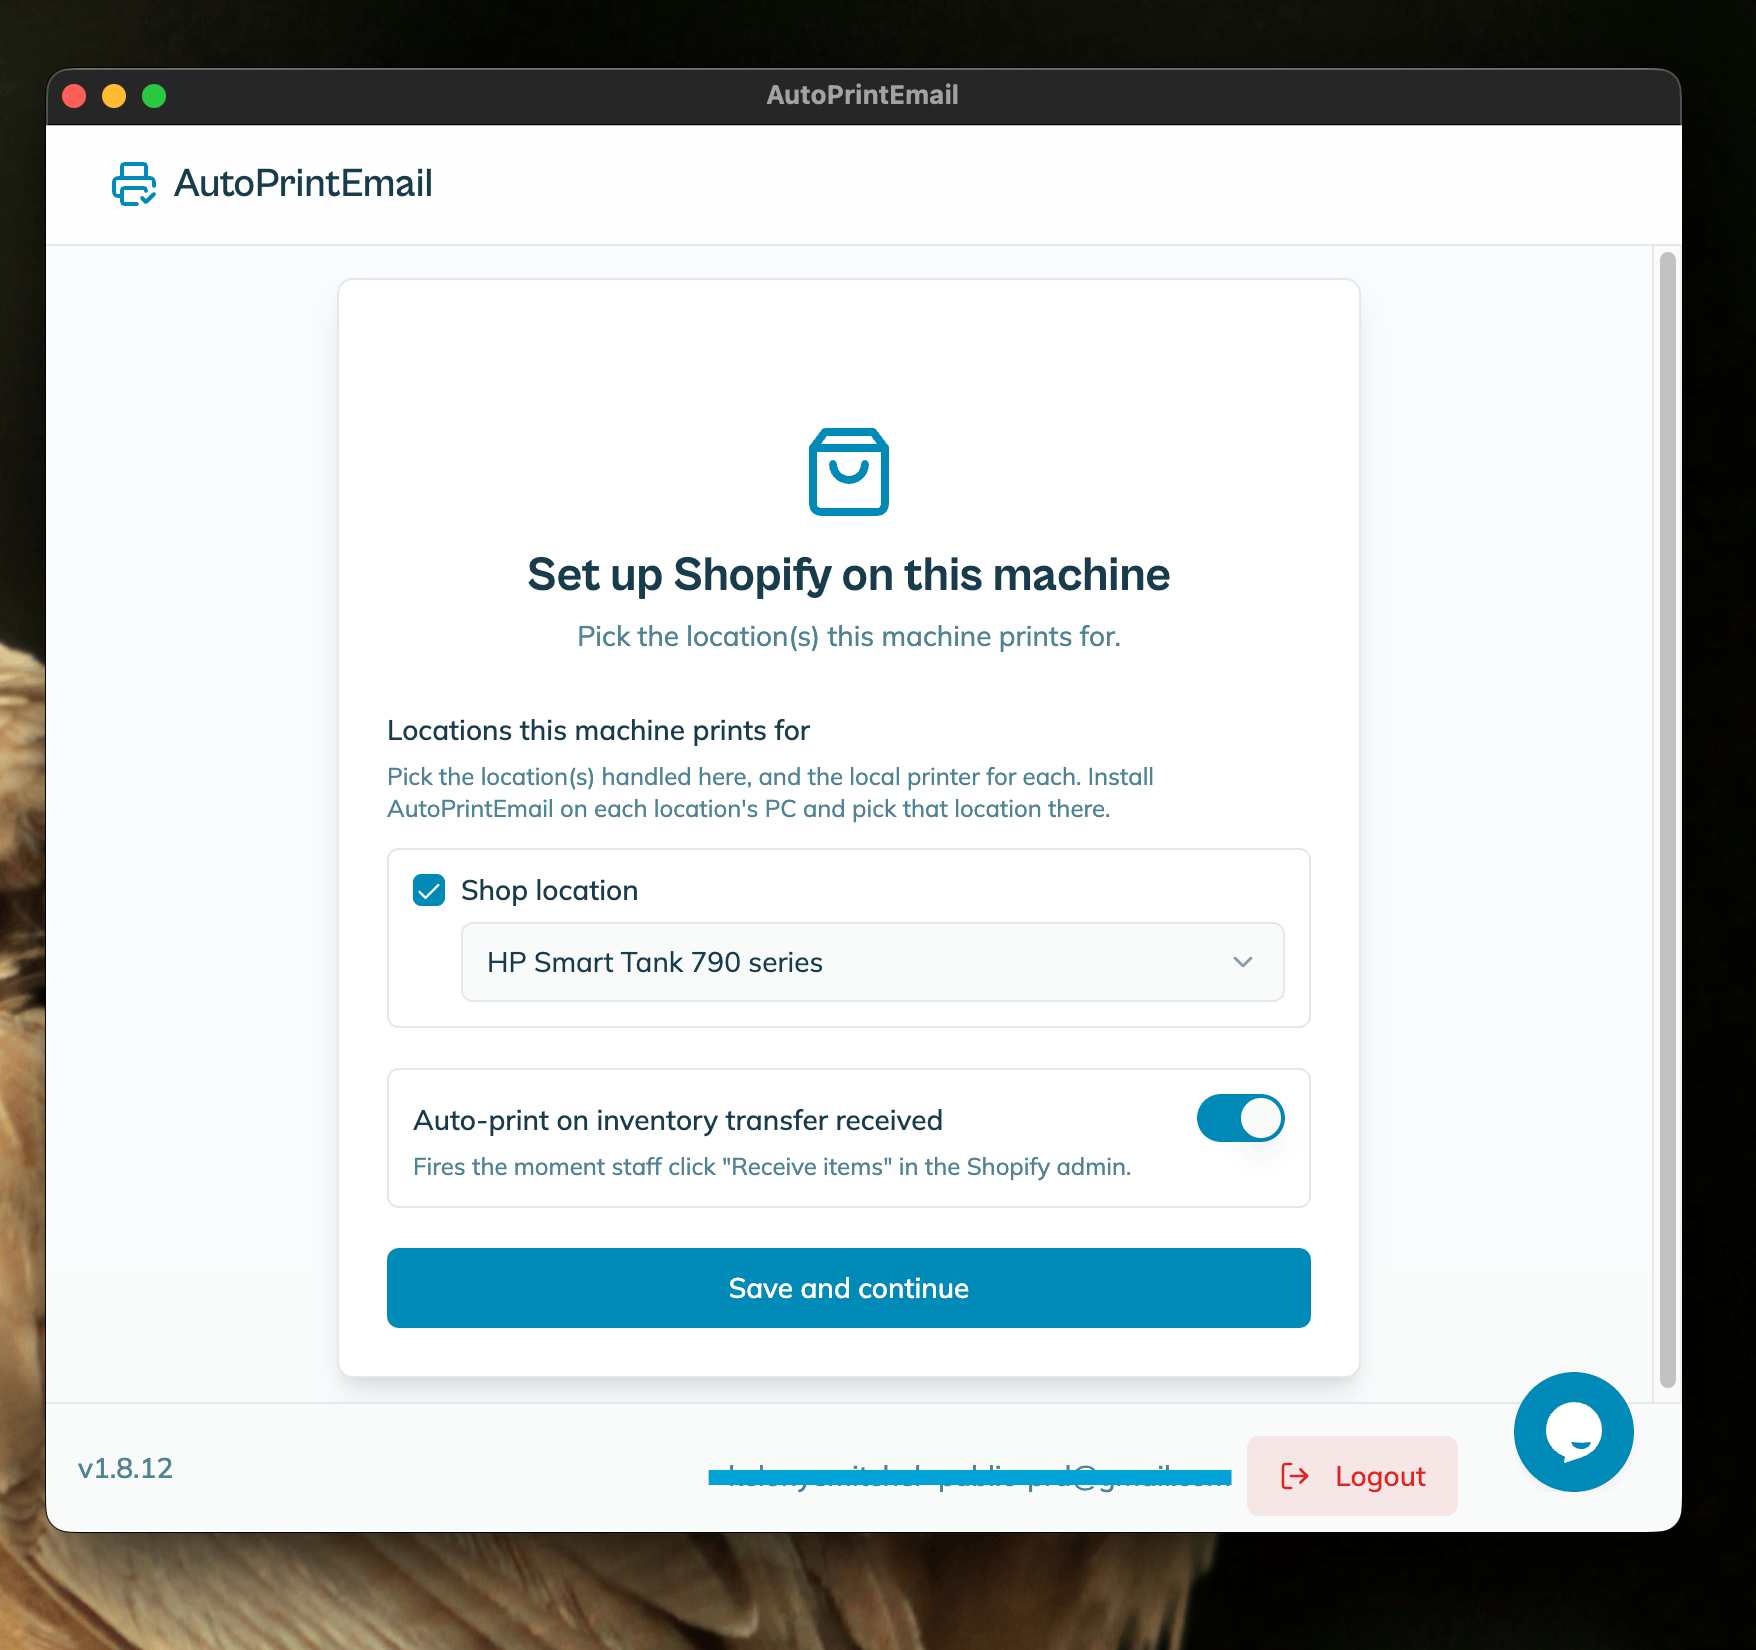
From here on, receive a transfer and the labels print on their own at that station, no clicking. Print queue keeps working exactly as before, so you can still print or reprint anything from your browser.
Each computer running the bridge is one print station on your plan. Printing from your browser is unlimited and never counts as a station.
Invite Your Team
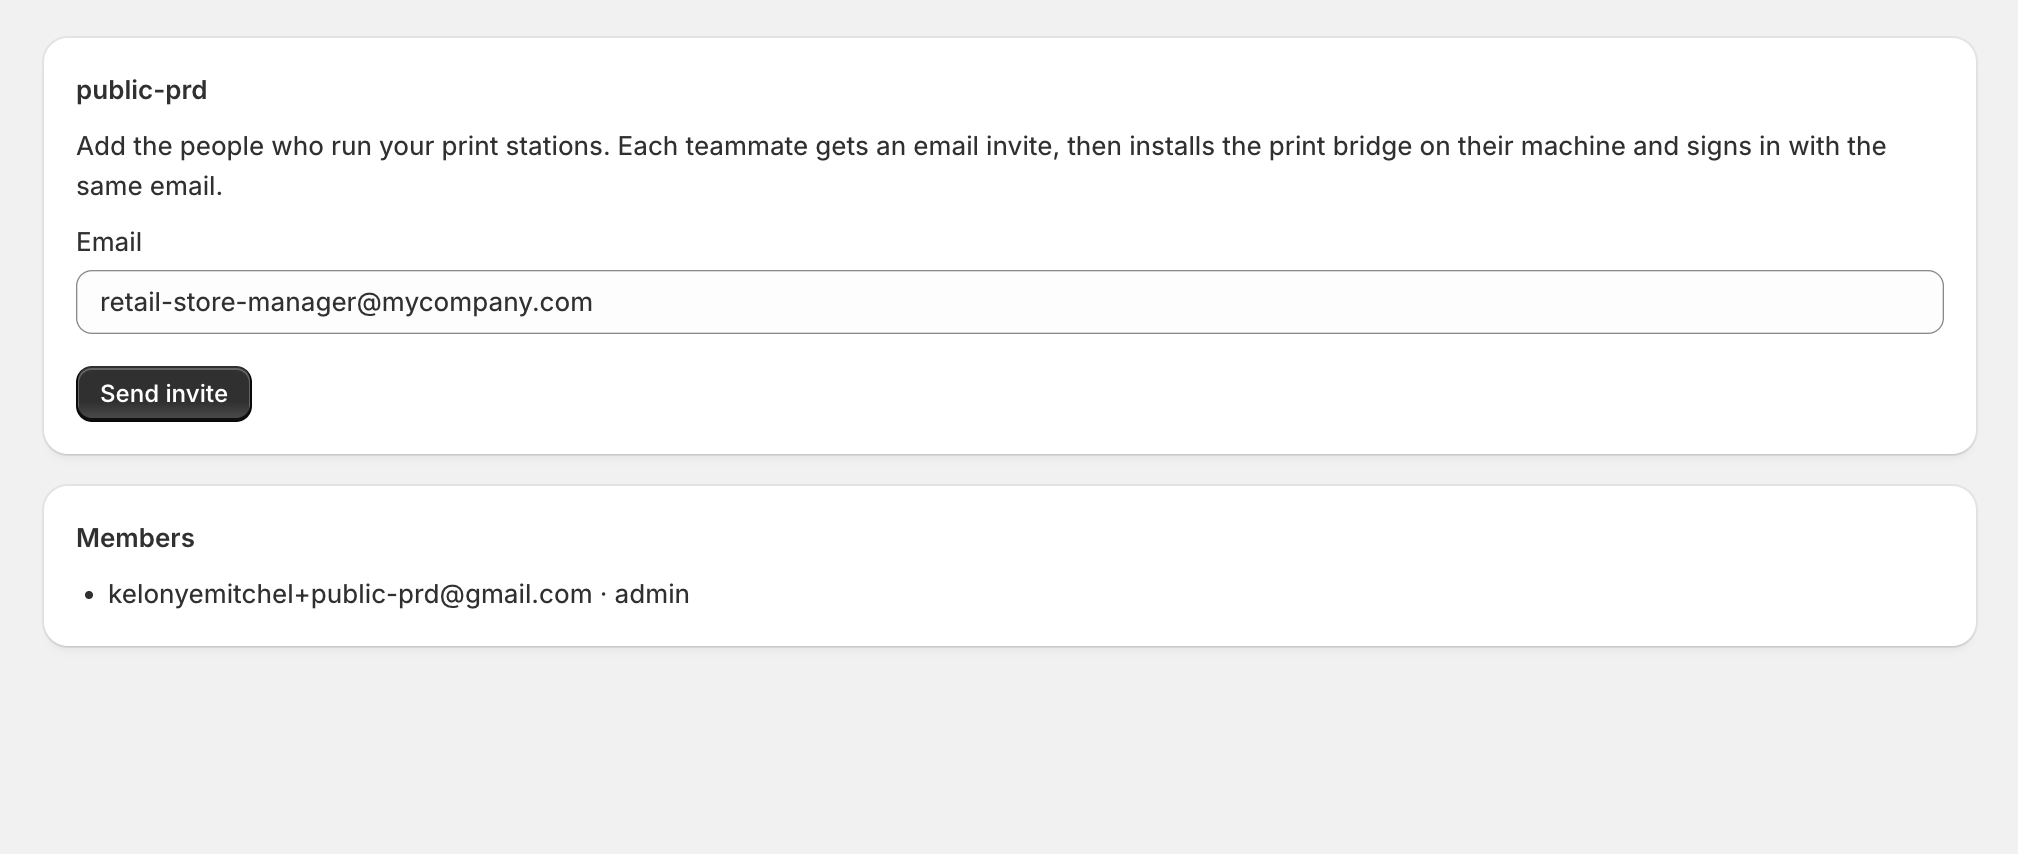
Open Team and add the people who print for your store. Everyone you invite can open Print queue and print from their own browser.
If a teammate also wants hands-free printing at their own desk, they install the print bridge on their machine and sign in with the same email they were invited with. Only the machines that actually run the bridge count towards your plan, so you can invite managers and viewers for free.
Give every computer its own login. It is tempting to sign the same email in on two machines, but they then both pick up the same jobs and fight over them, and you get labels twice or a print reported as failed when it actually came out. One email per computer, always.
Managing Everything from Shopify
From here on, everything lives in the AutoPrintEmail app inside your Shopify admin:
- Print queue is where documents land and where you print them.
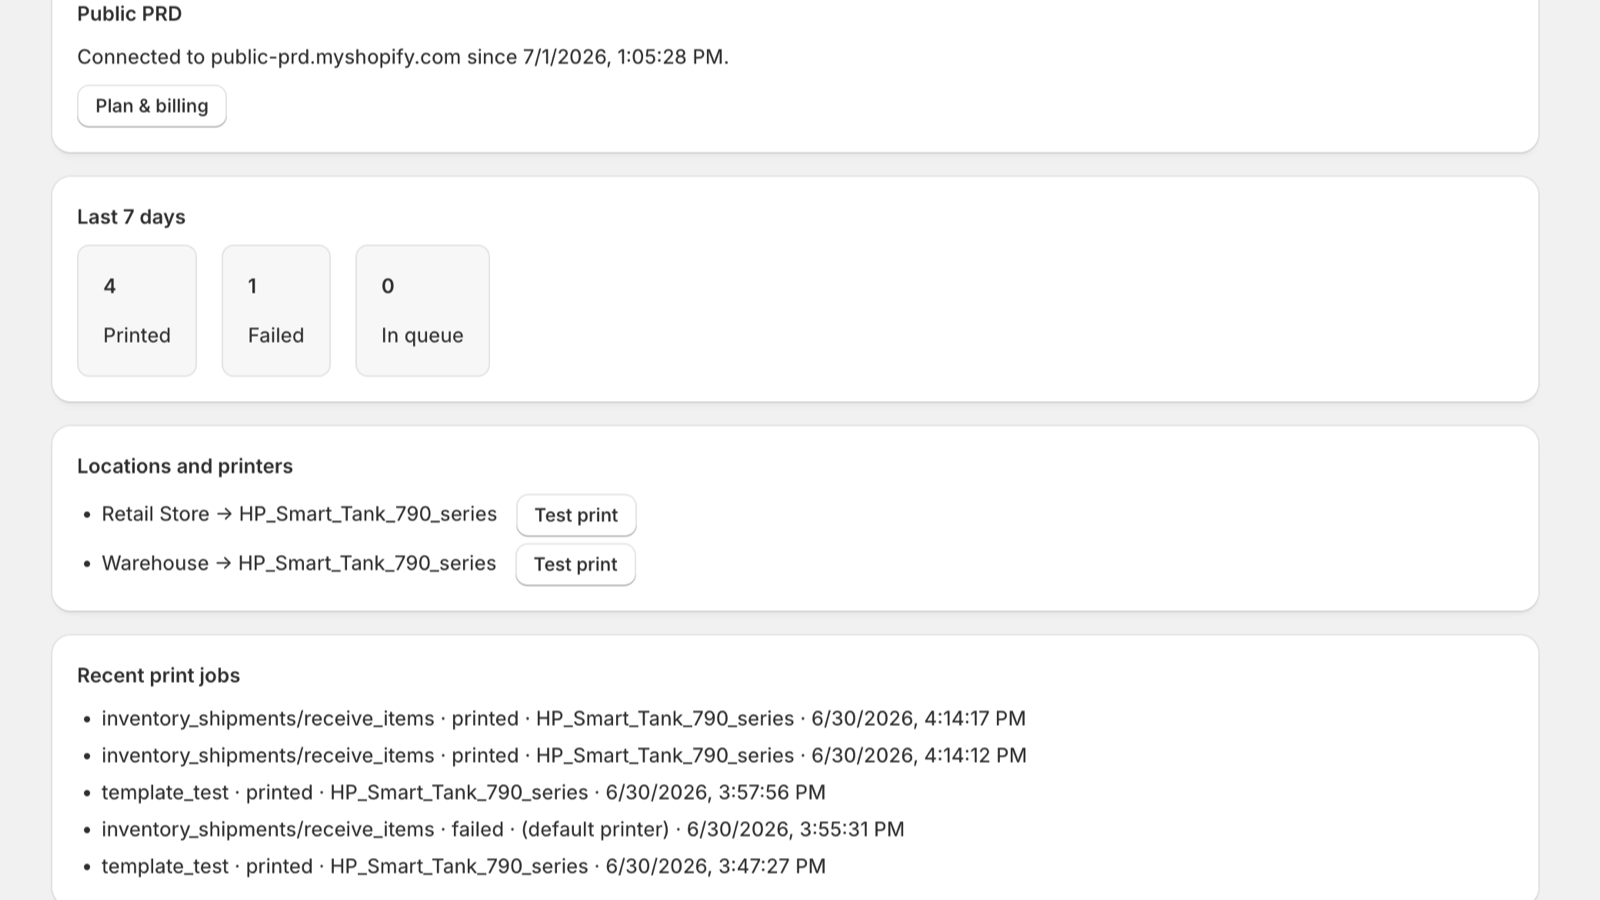
- Home shows recent prints and the health of each station.
- Locations shows your locations and any printers paired with them.
- Templates is where you change what prints.
- Team is where you add or remove operators.
- Plan is where you change tiers.
- Settings is where you pick which events create a document.
You manage it all without leaving Shopify.
Need Help?
Nothing appeared in Print queue? Check Settings has the trigger you expect turned on, then make the change in Shopify again. Documents usually land within a few seconds.
If you use the optional print bridge and paper is not coming out, two causes cover almost every case:
- The print bridge is closed on that station. Check it is open and signed in first. Anything waiting is still in Print queue, so you can print it from your browser in the meantime.
- The same email is signed in on two computers. Both machines grab every job, so one prints while the other reports a failure for the same label. If prints look random, or the app says failed but paper came out, this is why. Give each computer its own login as described above.
Beyond that, we are a small, fast team and happy to help.