Email Monitoring
Print Rules Explained: Choose Which Emails Print
2 min read
Out of the box, every email in the mailbox prints. That's perfect for a dedicated orders@ inbox. For anything busier, rules let you print only what matters.
Table of Contents
Add a rule
- Open AutoPrintEmail and click Manage Connections in the sidebar.
- Click Manage on the mailbox and open the Rules tab.
- Click Add Rule and give it a Rule Name.
- Choose When this matches: Print it or Don't print it.
- Add one or more Conditions.
- Click Create Rule, then Save Changes.
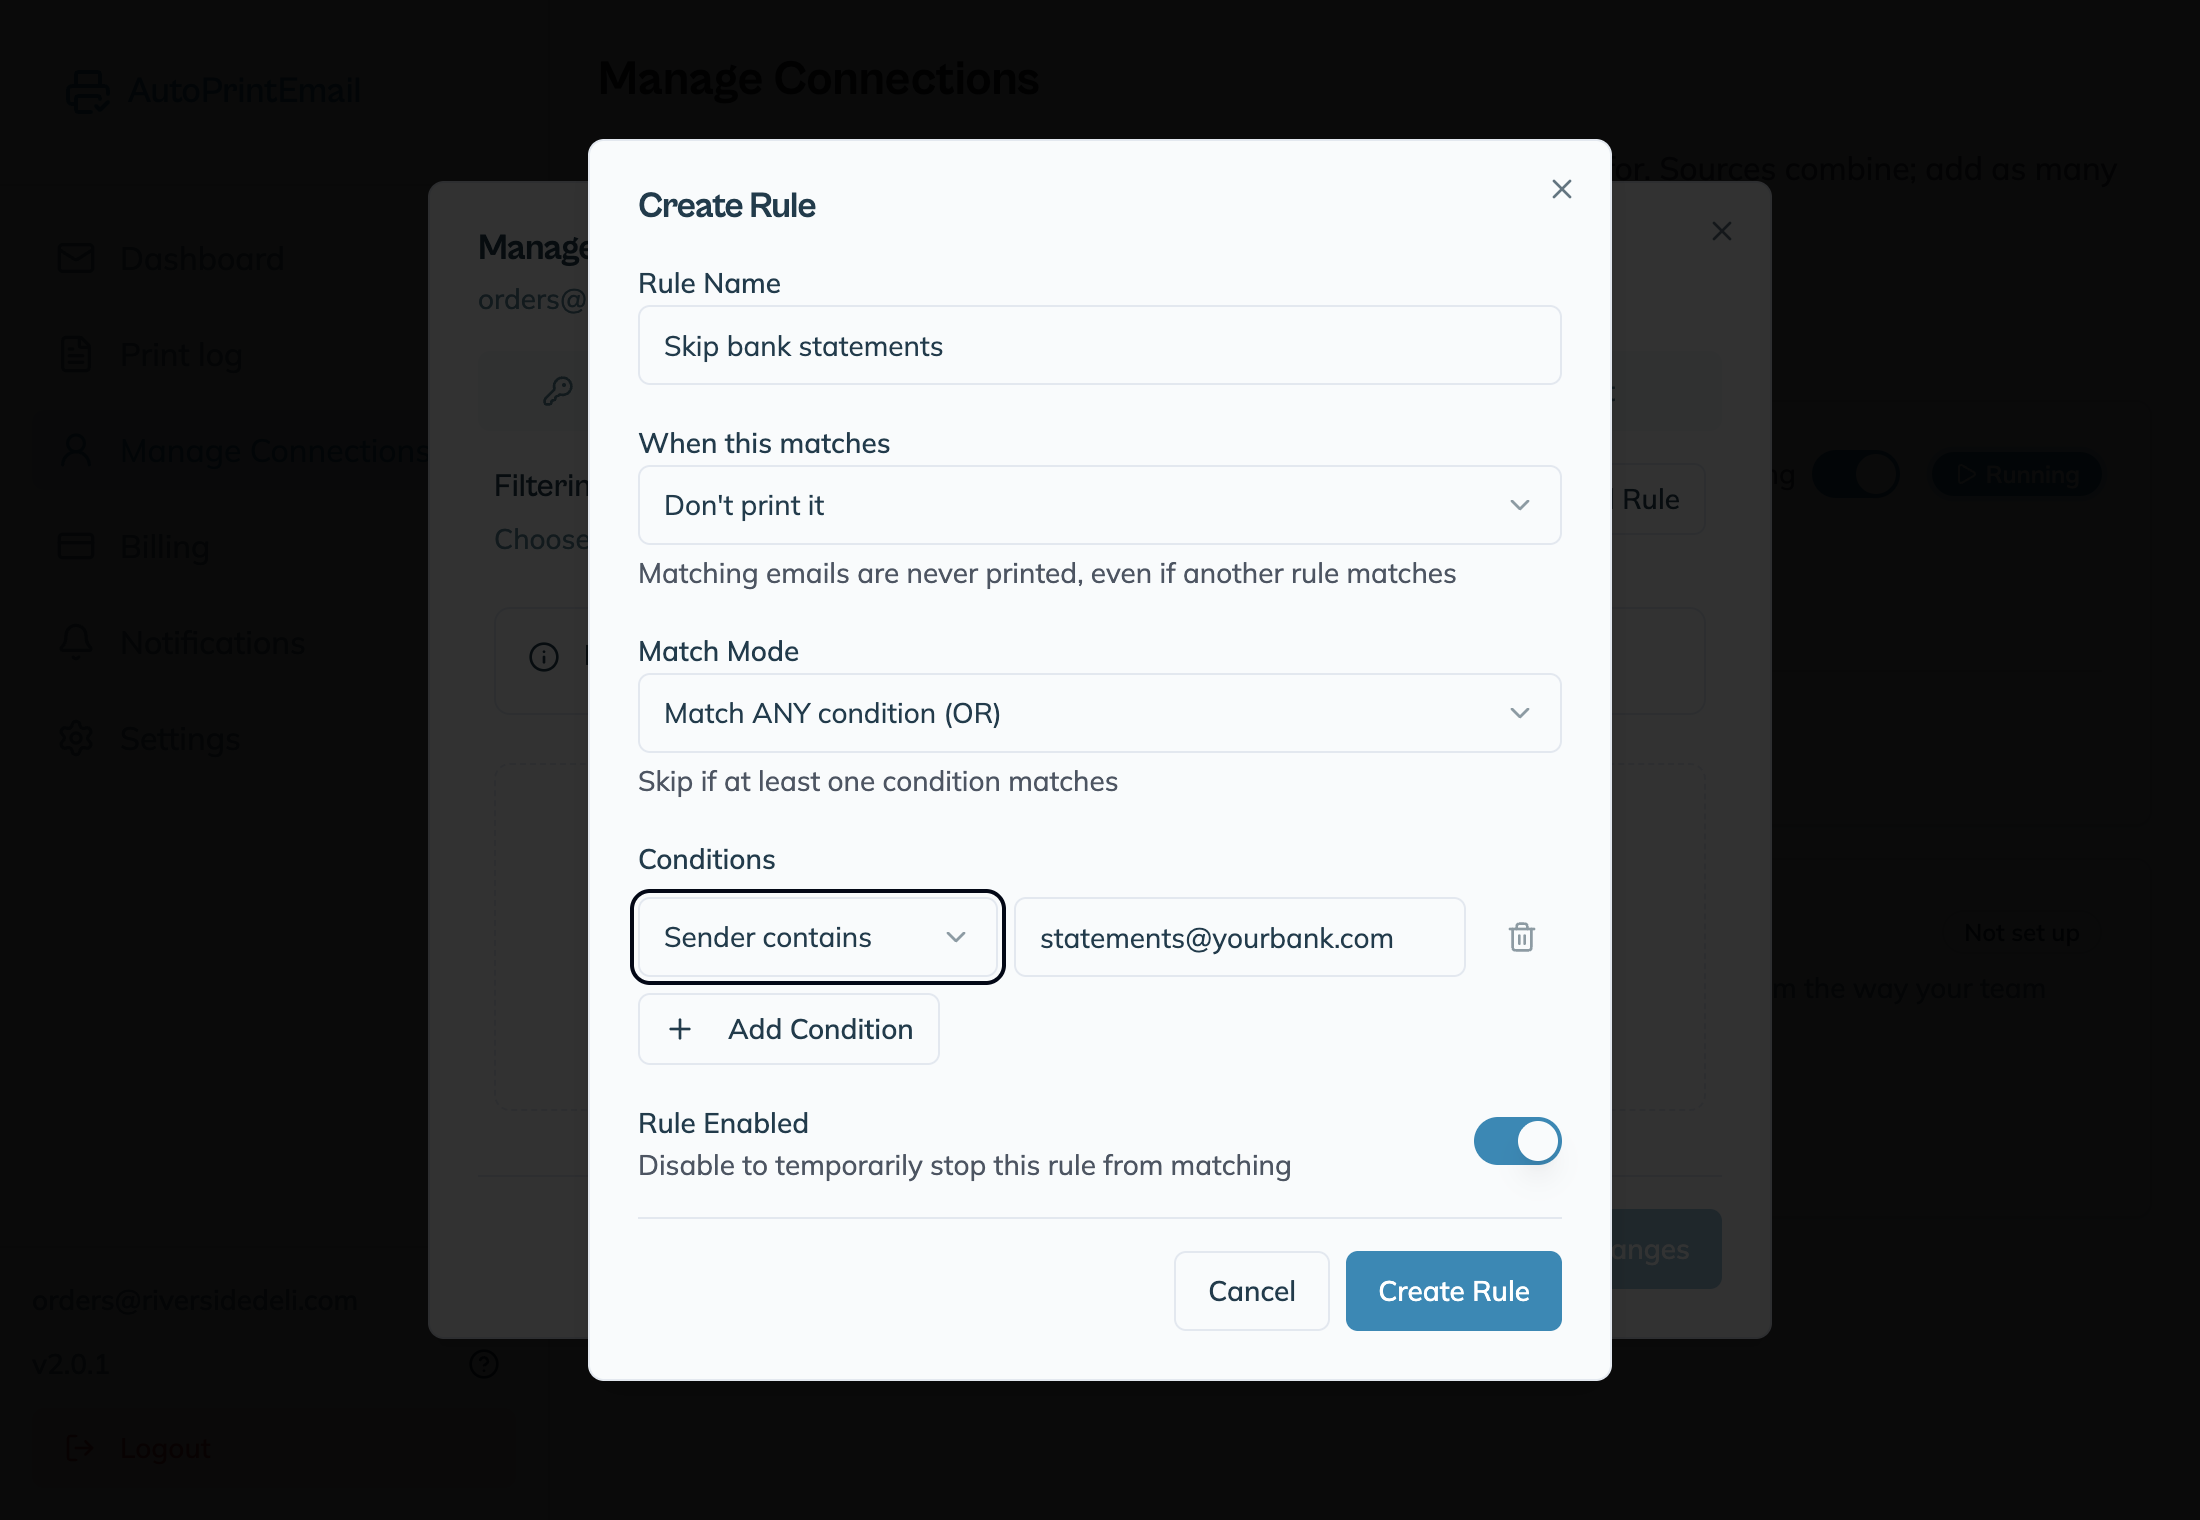
Conditions
Each condition checks one thing about the email:
- Subject contains: text in the subject line, like
New orderorInvoice. - Sender contains: the sender's name or address, like
@supplier.com. - Sent to contains: the address it was sent to. Great for aliases, like
kitchen@yourshop.com.
Matching ignores upper and lower case. With more than one condition, pick the Match Mode: Match ALL conditions (AND) or Match ANY condition (OR).
Which emails print
The Rules tab tells you in plain words, but here's the logic:
- No rules: every email prints.
- Only "Don't print" rules: everything prints except what they match.
- Only "Print it" rules: only emails that match at least one of them print.
- Both kinds: emails that match a "Print it" rule print, unless a "Don't print" rule also matches. "Don't print" always wins.
Extras on a rule
- Number of copies: print two copies of invoices and one of everything else.
- Send this rule's matches to specific printers: send matching emails to a different printer from the mailbox's usual one. See Print Each Email Alias to Its Own Printer.
- Rule Enabled: switch a rule off without deleting it.